
To successfully participate in an online exam with AI-proctoring, your device and connection must meet the following system requirements. Please read this information carefully before starting the exam.
1. Device Requirements
You must use a laptop or a desktop computer to take an AI-proctored exam.
Supported operating systems:
Windows (versions 7, 8, 8.1, 10, 11)
macOS (Intel and M chip versions)
Required equipment:
A fully functioning webcam (built-in or external)
A functioning microphone (built-in or external)
Your device must be in good working condition and allow access to the browser’s camera and microphone settings.
2. Internet and Browser Requirements
Internet connection:
A stable connection with an upload speed of at least 1 Mbps
(For the best experience, a wired or high-quality Wi-Fi connection is recommended.)
Supported browsers:
Google Chrome
Safari
Mozilla Firefox
Edge
Opera
Baidu
Yandex
Please ensure your browser is updated to the latest version. We recommend Google Chrome.
3. Important Restrictions
⚠️ Please note the following rules.
Not Allowed to take the test:
Tablets
Mobile phones
Any portable or hybrid device
Taking the exam through a mobile browser
Allowed:
Only laptops and desktop computers
Using prohibited devices will result in the inability to start or continue the exam.
4. AI-proctoring and Academic Integrity
During the exam, the system will use AI-based monitoring and, in some cases, manual proctor review to ensure academic integrity.
Any unauthorized assistance, suspicious activity, or attempts to bypass monitoring systems will be considered a violation of examination rules.
Violations may lead to:
Immediate termination of the exam
Disqualification of results
Reporting the incident to your organization
Please ensure you take the exam honestly and independently.
5. Permission Checks
To successfully participate in this online assessment make sure that your browser has the necessary permissions from your OS for:
Webcam access
Microphone access
Desktop screen recording access
If you have taken virtual calls through your browser before, most likely you already have the necessary permissions.
6. Preparing for the Exam
Before starting the exam, ensure that:
Your internet connection is stable
Your browser is updated to the latest version (Chrome recommended)
The webcam and microphone are connected and permitted for use
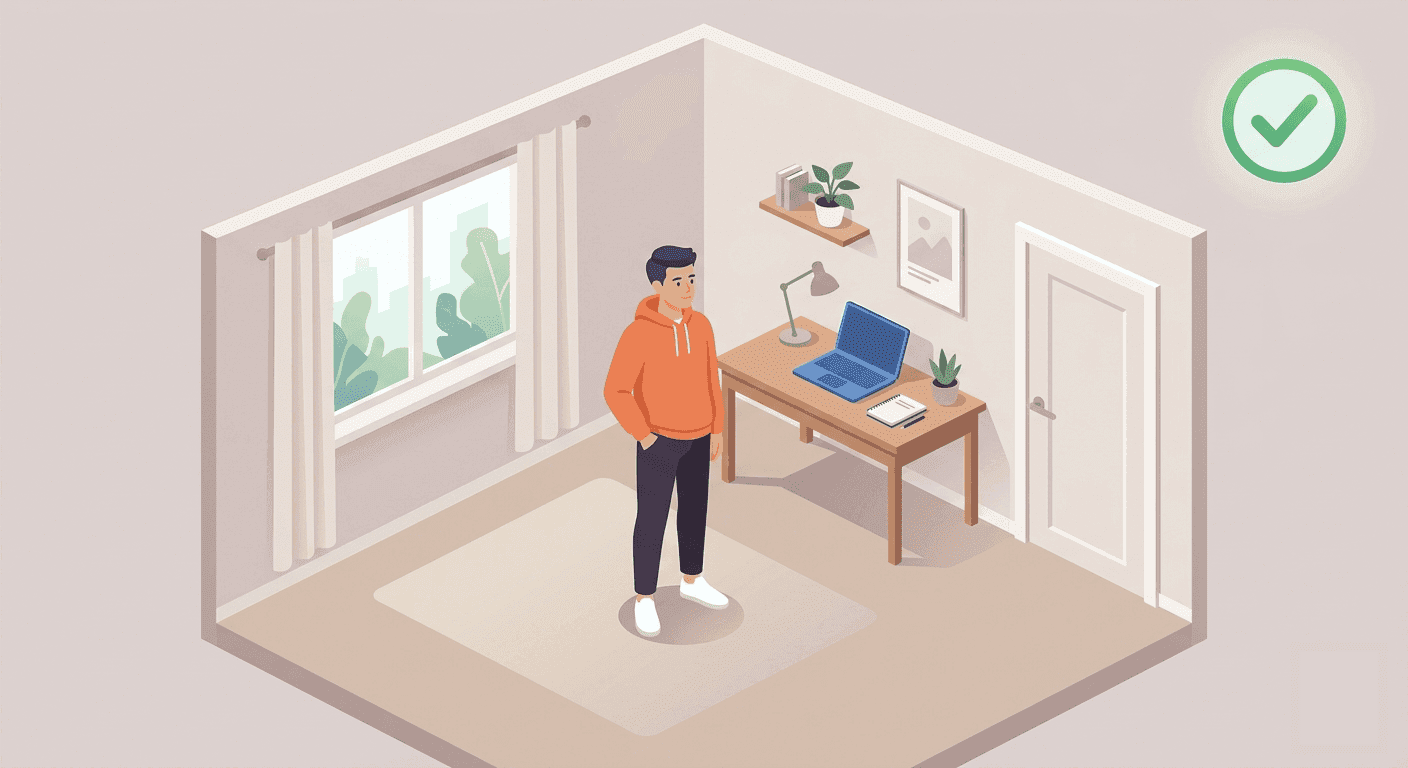
You are in a quiet, well-lit room without other people present
7. Starting the Exam
Choosing an Exam
On the "Courses" page:
Select your exam
Read the exam instructions carefully
After accepting the user agreement, the proctoring system initialization will begin in the browser.
Identification
Your exam requires two things:
A webcam photo
A photo of your ID (We don't store your ID photo — it's analyzed entirely on your device and is never sent to our servers.)
Follow the on-screen prompts to complete identification.
Starting test setup
After you accept the agreement, the system will begin initialization. This process includes:
Automatic equipment check — the system verifies that your device meets the technical requirements.
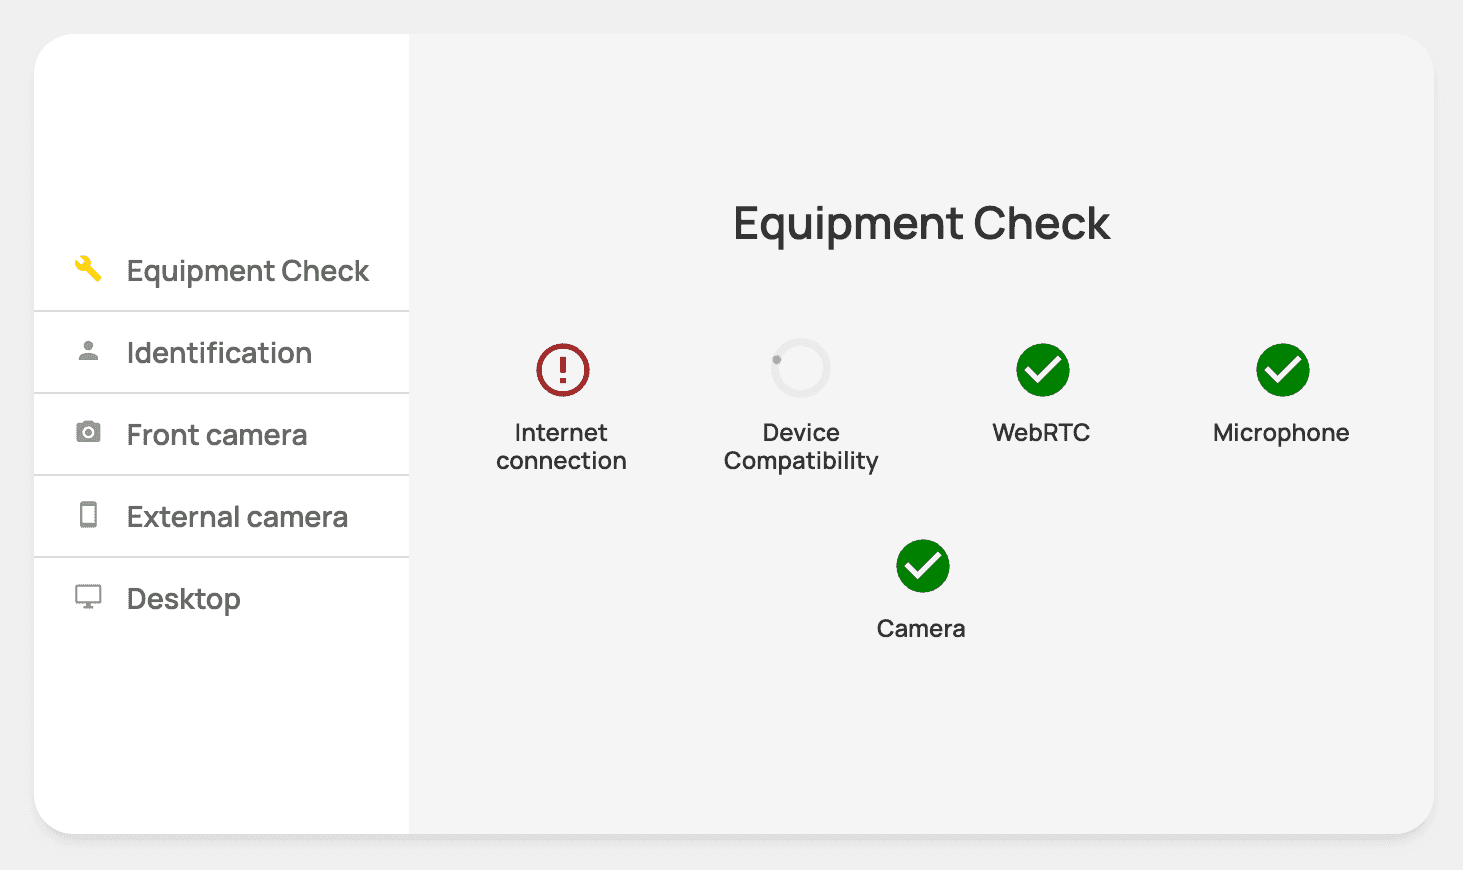
Permissions — your browser will prompt you to allow access to your webcam, microphone, and screen.
User identification — depending on your network speed, this may take a little longer; please wait while the system processes your request.
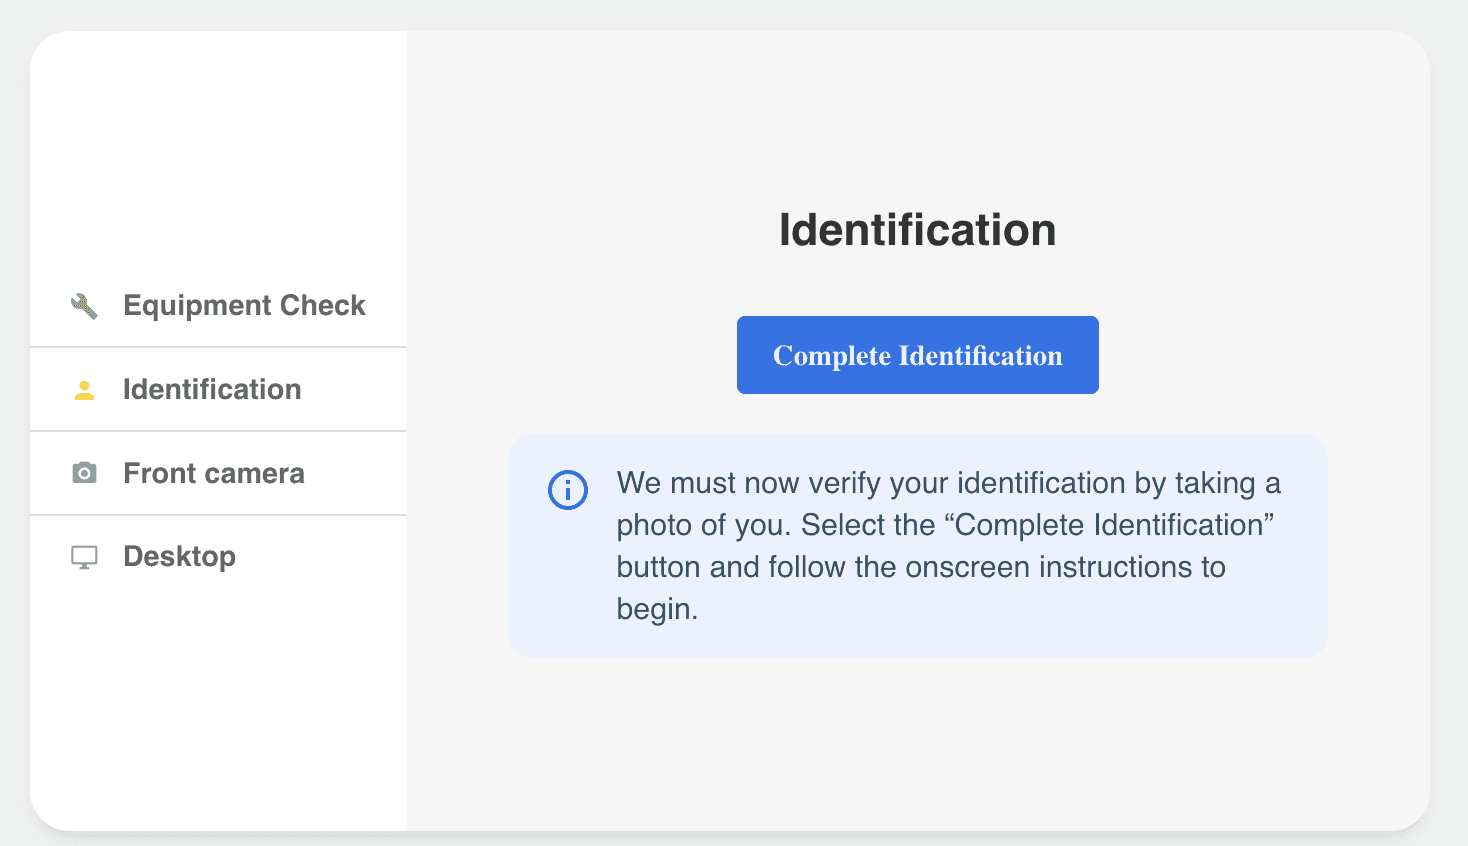
The system will then initialize and prepare for the biometric check.
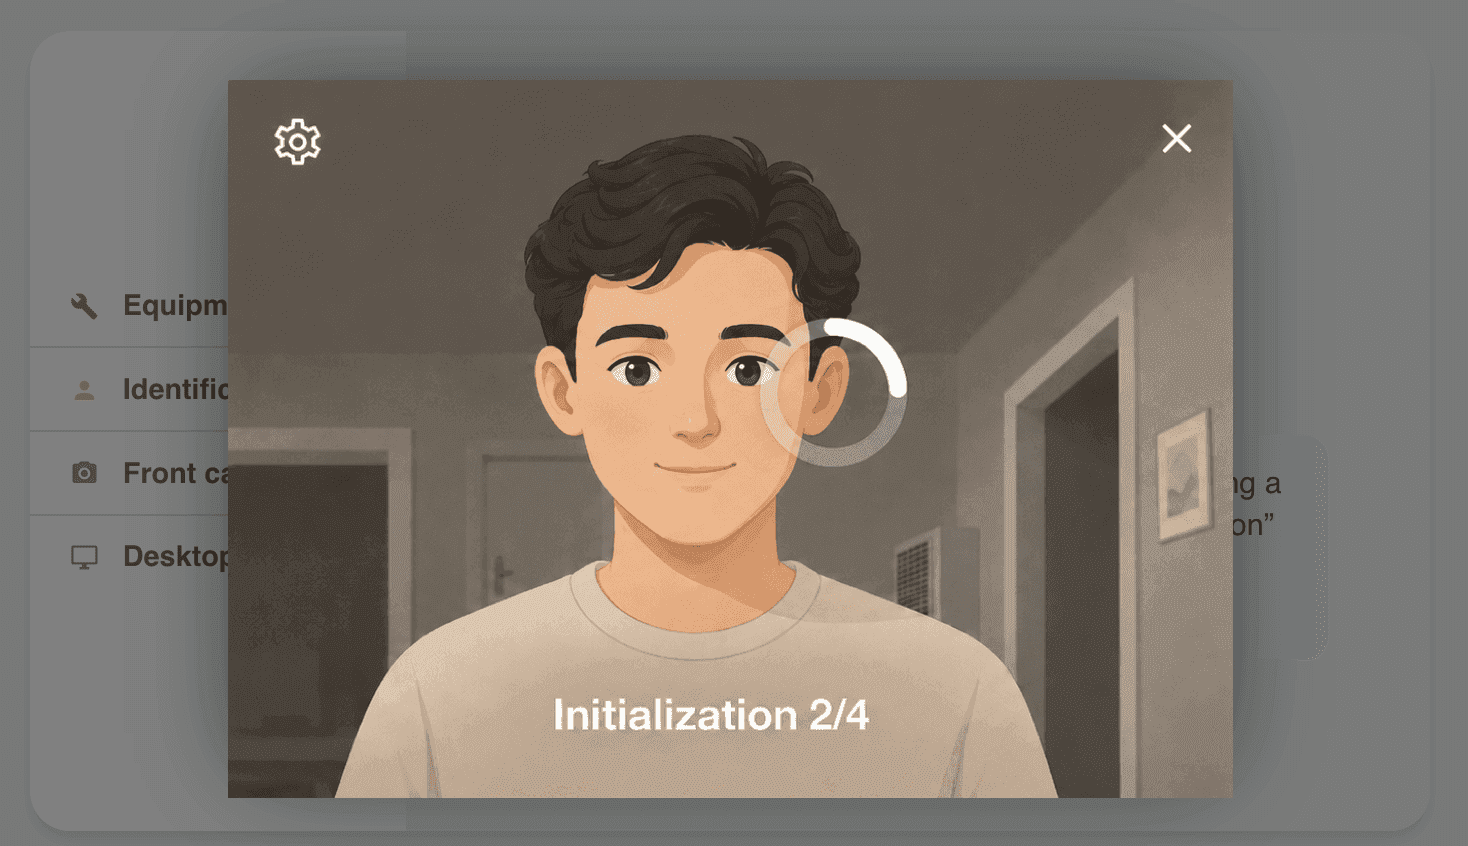
First, it will check the lighting — please make sure your face is evenly lit, with no shadows.
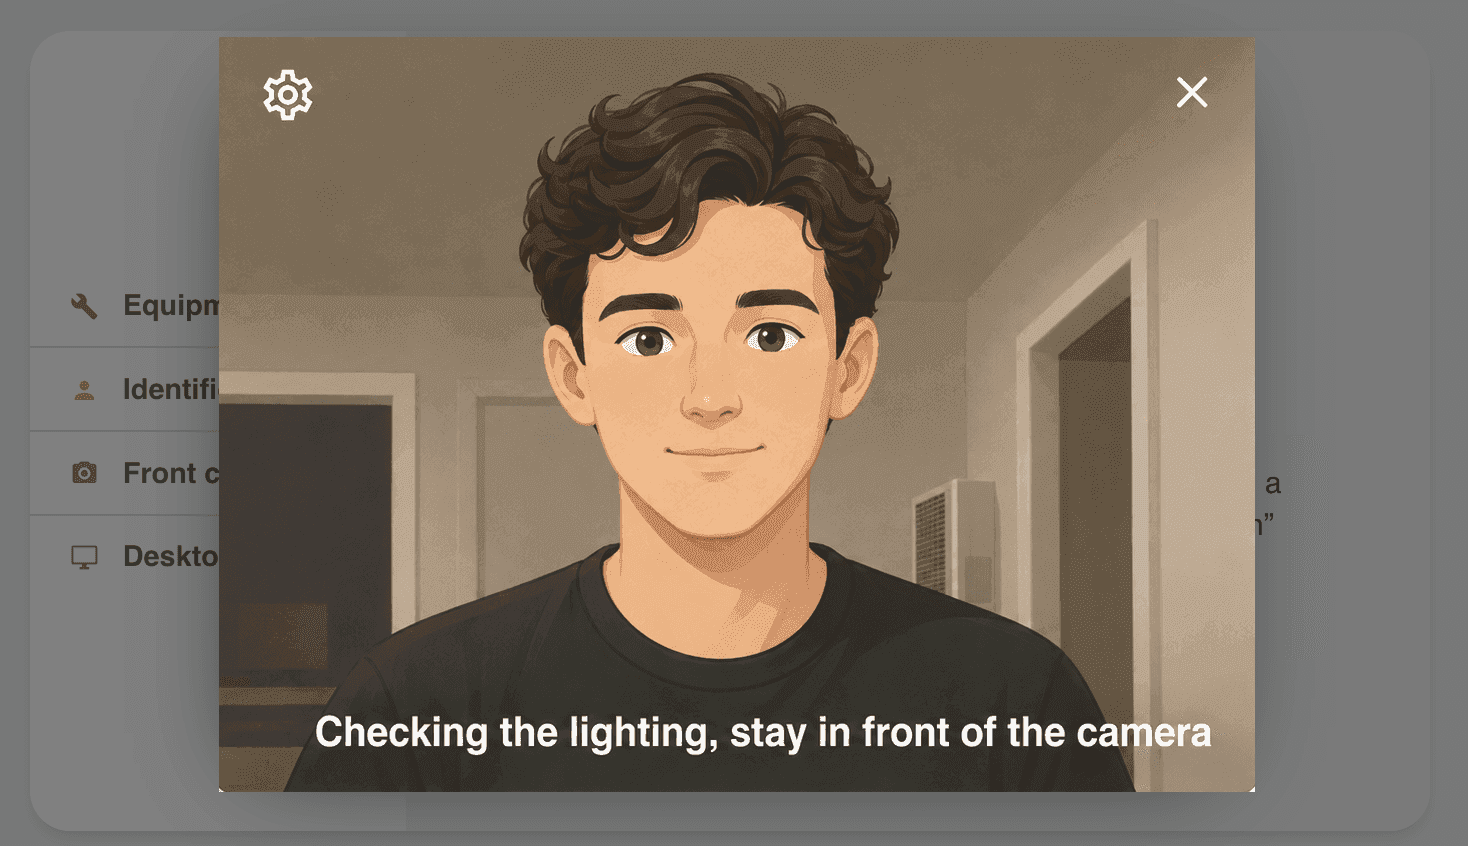
Our system will initiate gaze calibration in order to track your gaze during the exam.
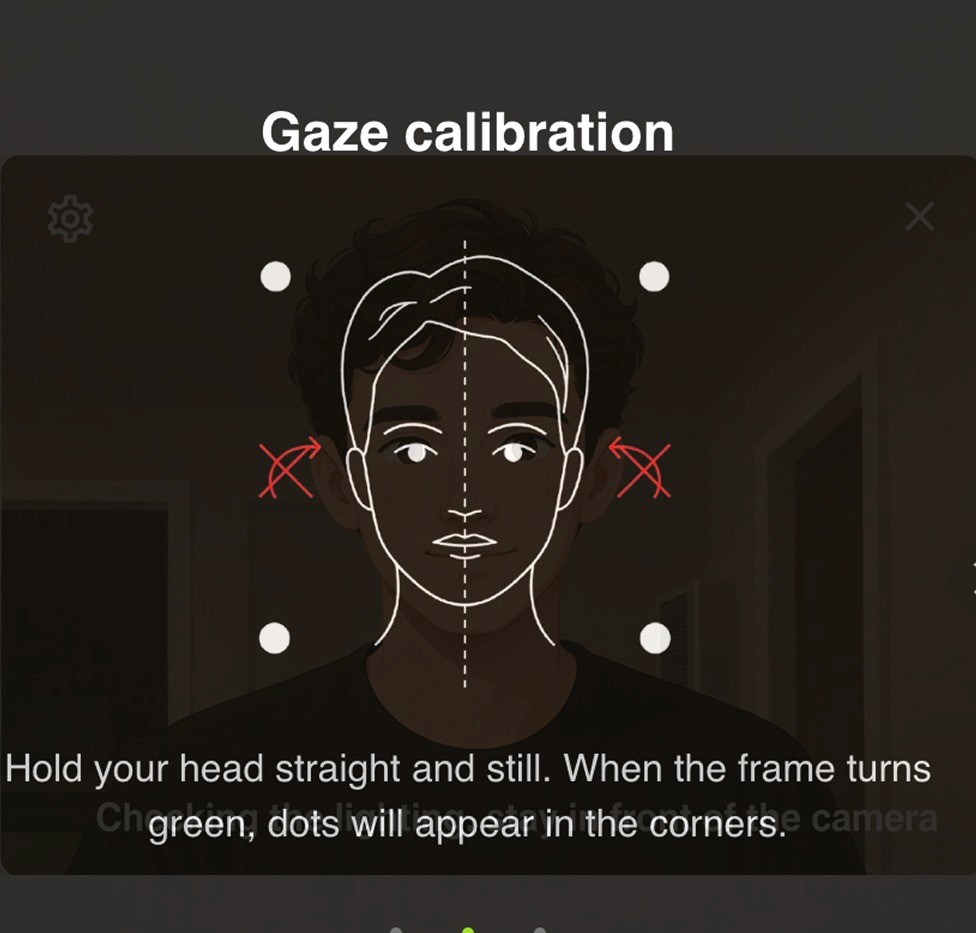
Next, the system will run gaze calibration so it can track your gaze during the exam. Follow the prompts carefully: sit up straight, center your face in the frame, and stay as still as possible.
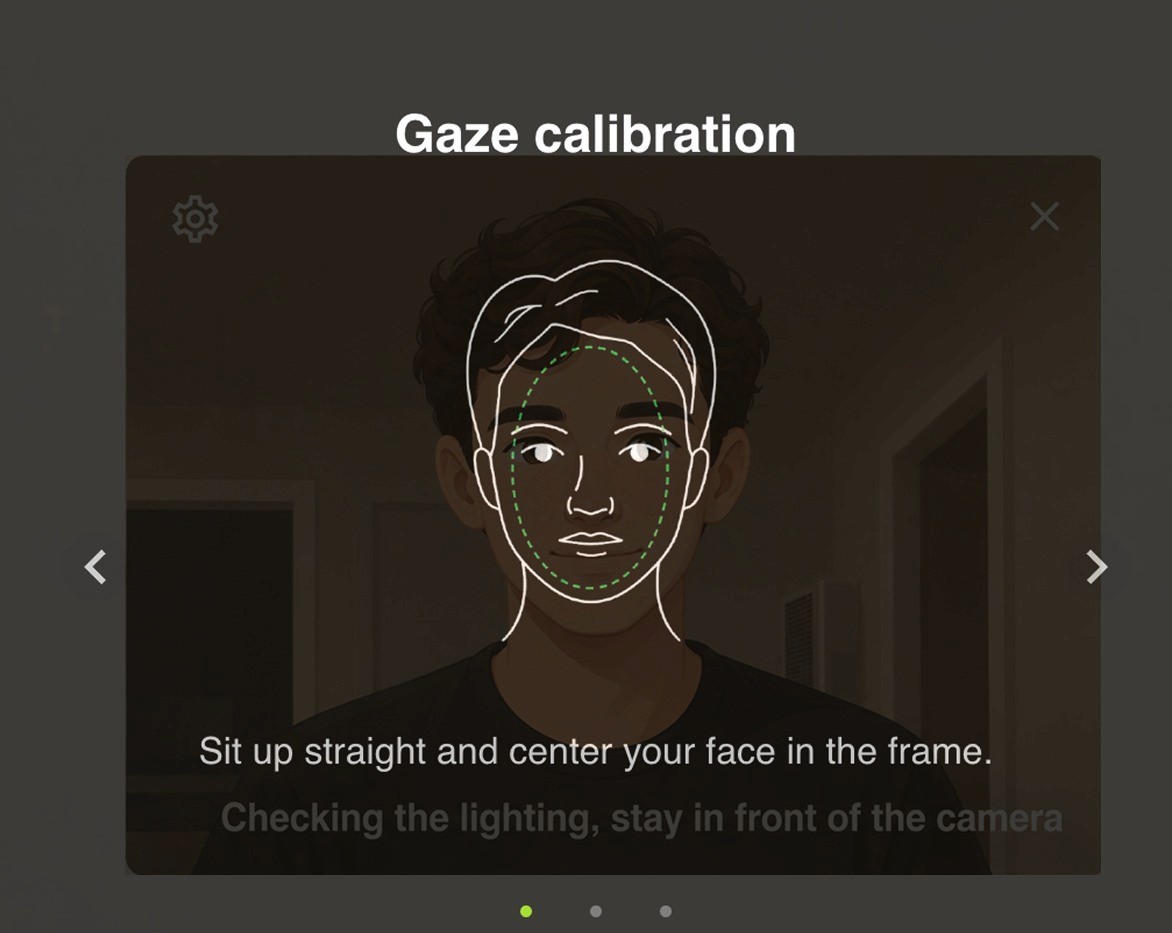
Once the system has detected your head and face, four dots will appear, one in each corner of the screen.
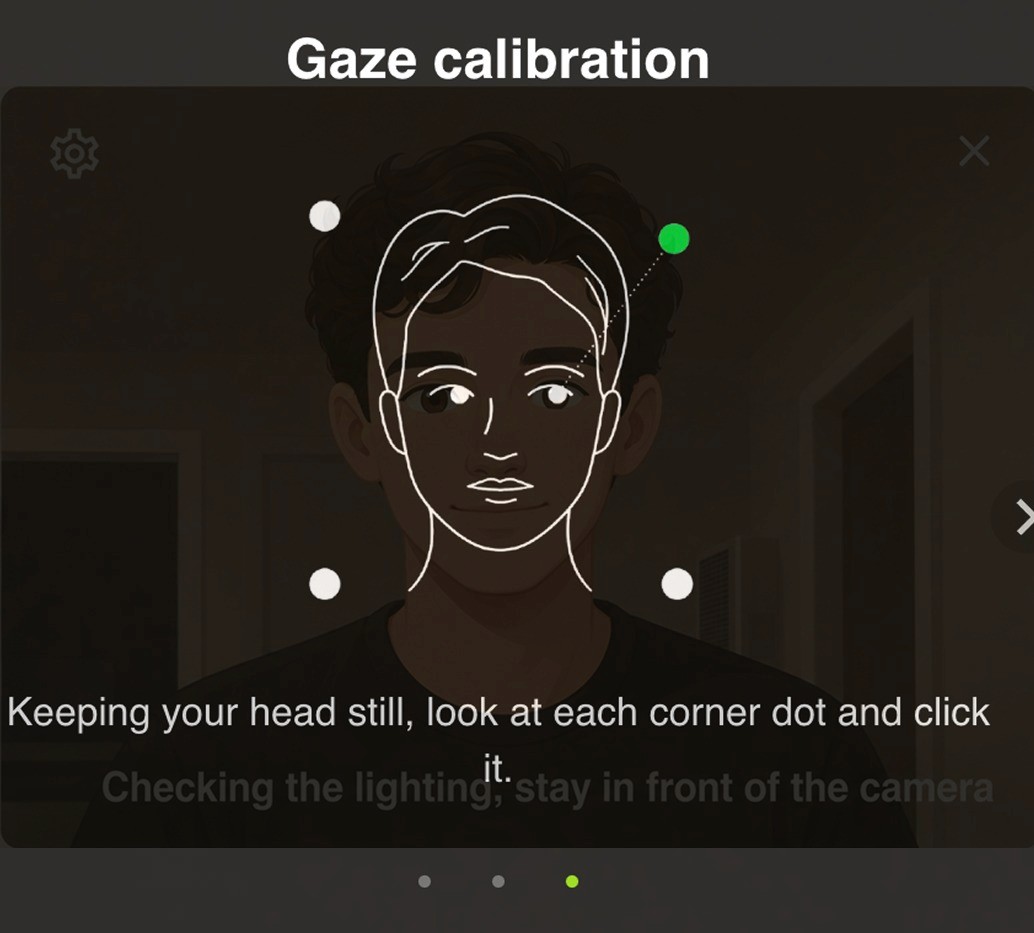
Look directly at each dot as you click it. This is important — if you look elsewhere, the system will be miscalibrated and gaze tracking won't work correctly.
After gaze calibration is complete, you'll move on to biometric photo ID verification.
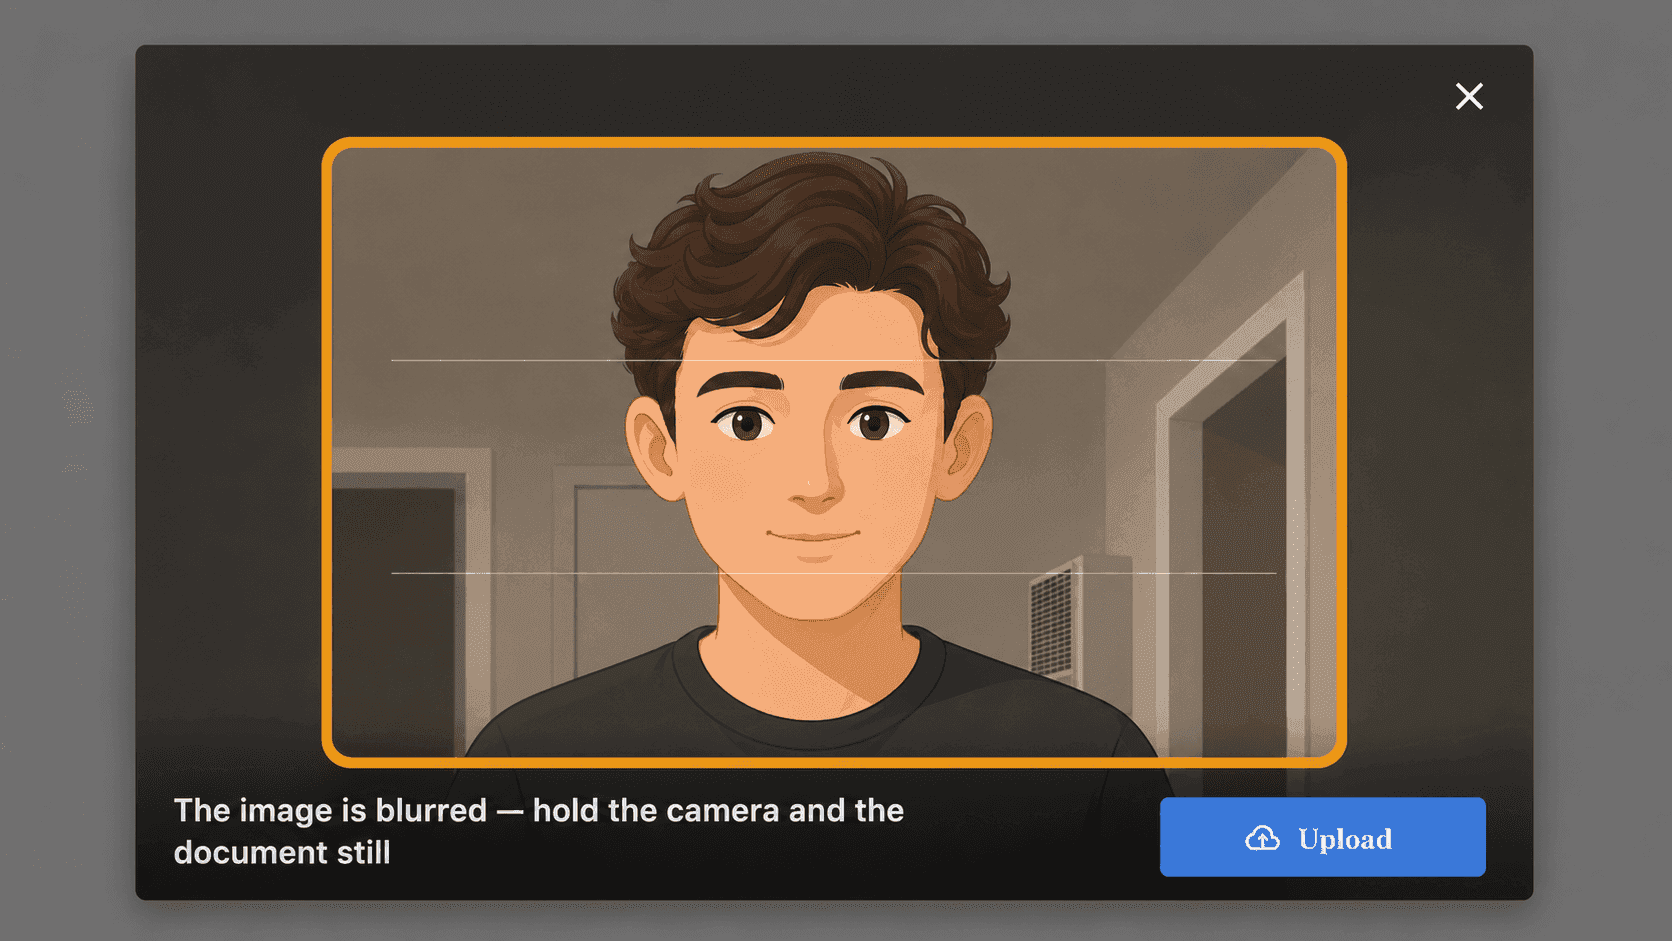
You can photograph your document using your webcam.
Hold the document still in good lighting, with no glare. The system captures it automatically once it's aligned within the frame — there's no need to press any buttons.
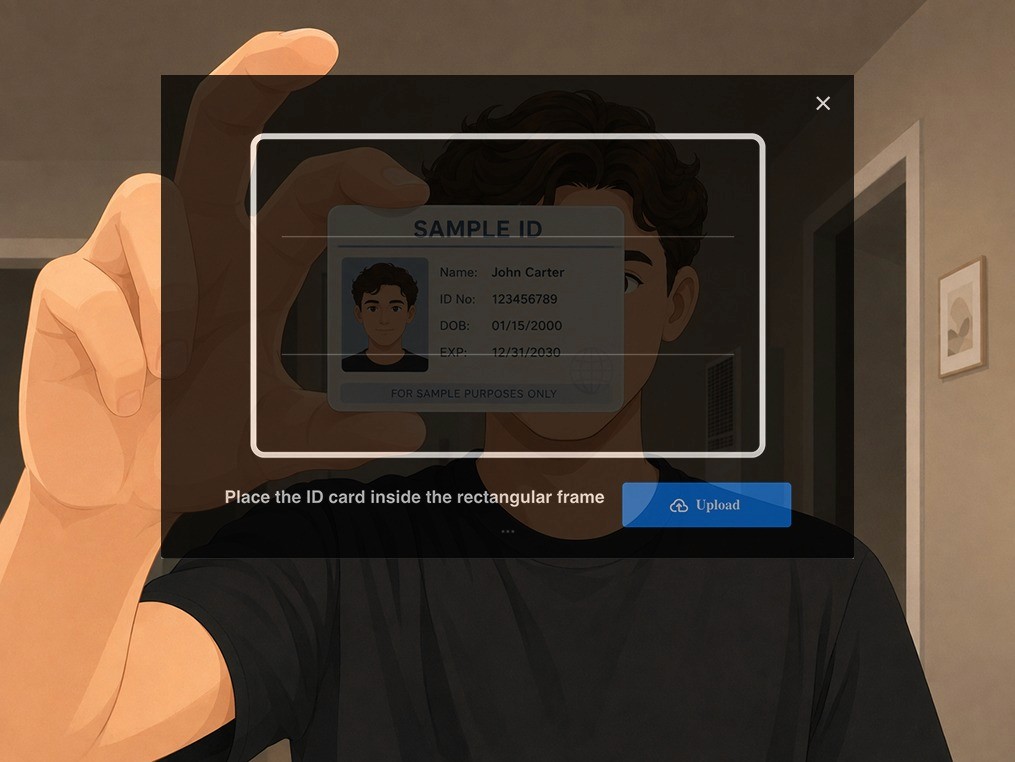
If you run into an error at this stage (due to document quality or another issue), you can upload a higher-quality picture of the document using the Upload button.
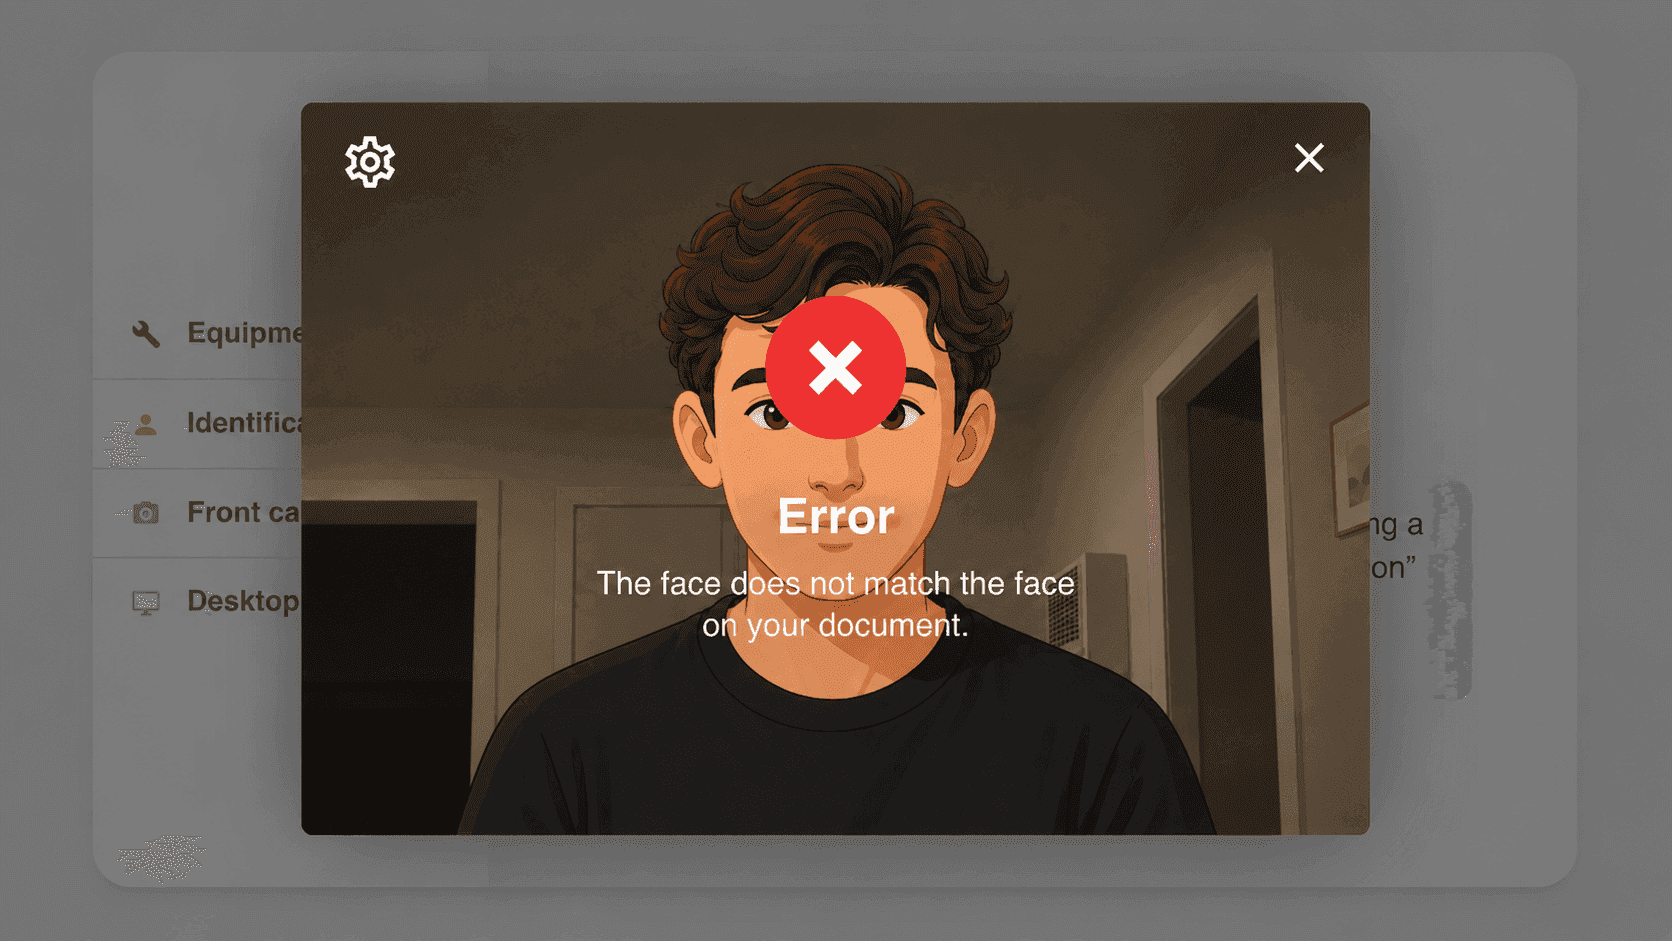
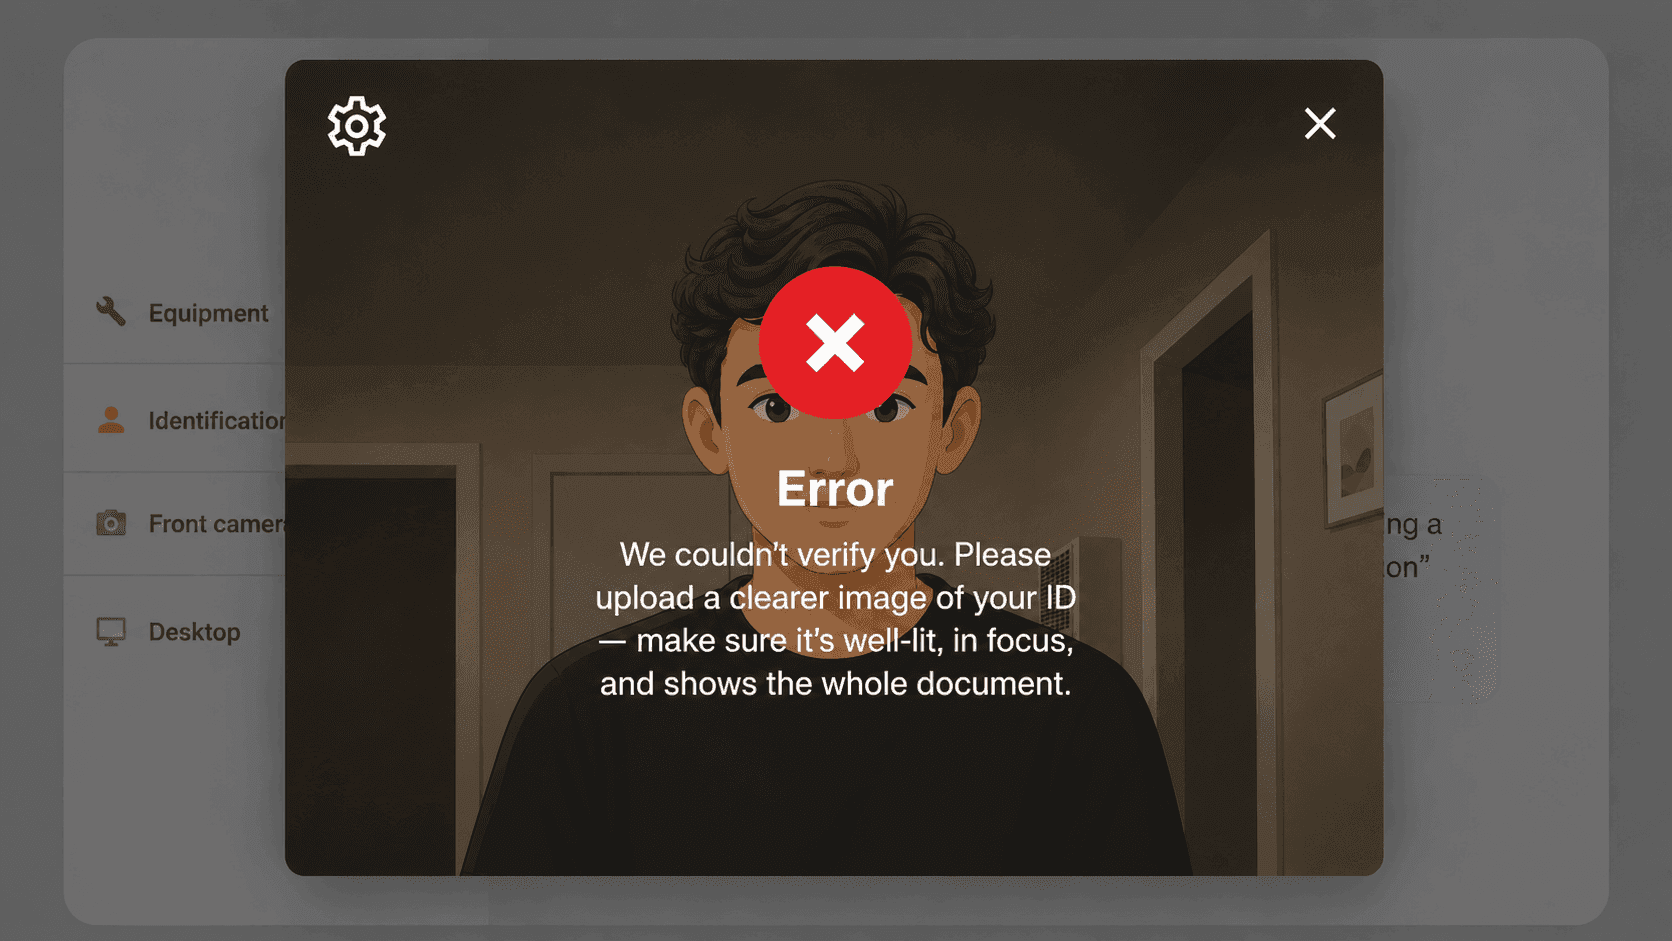
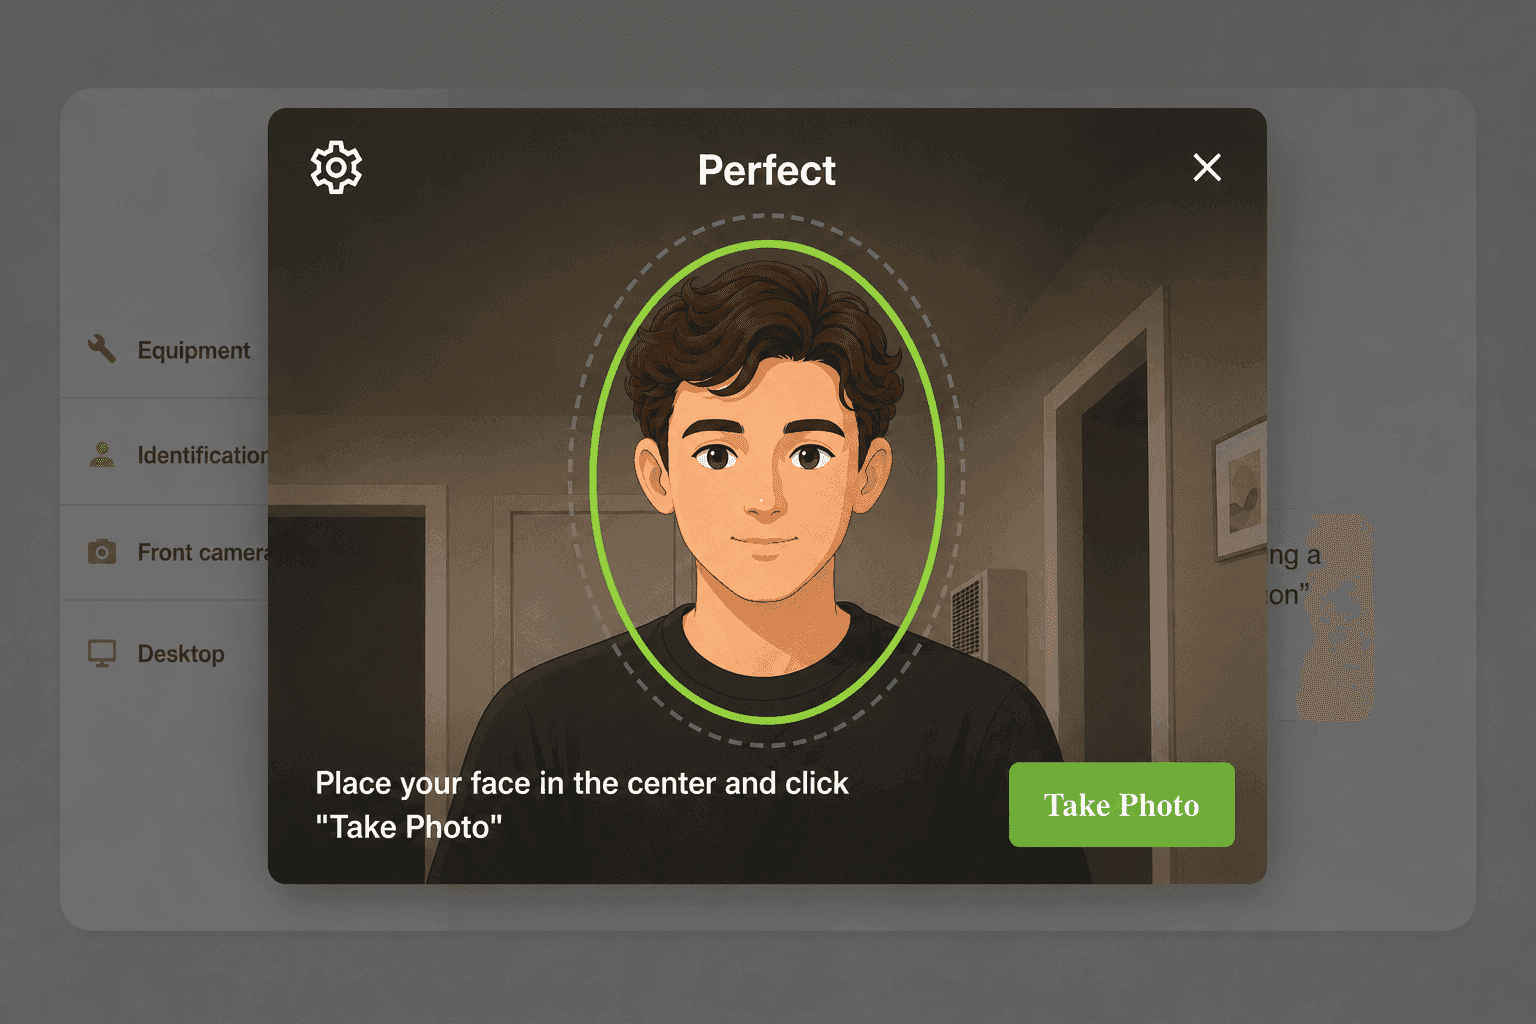
Finally, take a photo of yourself so the system can confirm it matches your ID photo.
Desktop access
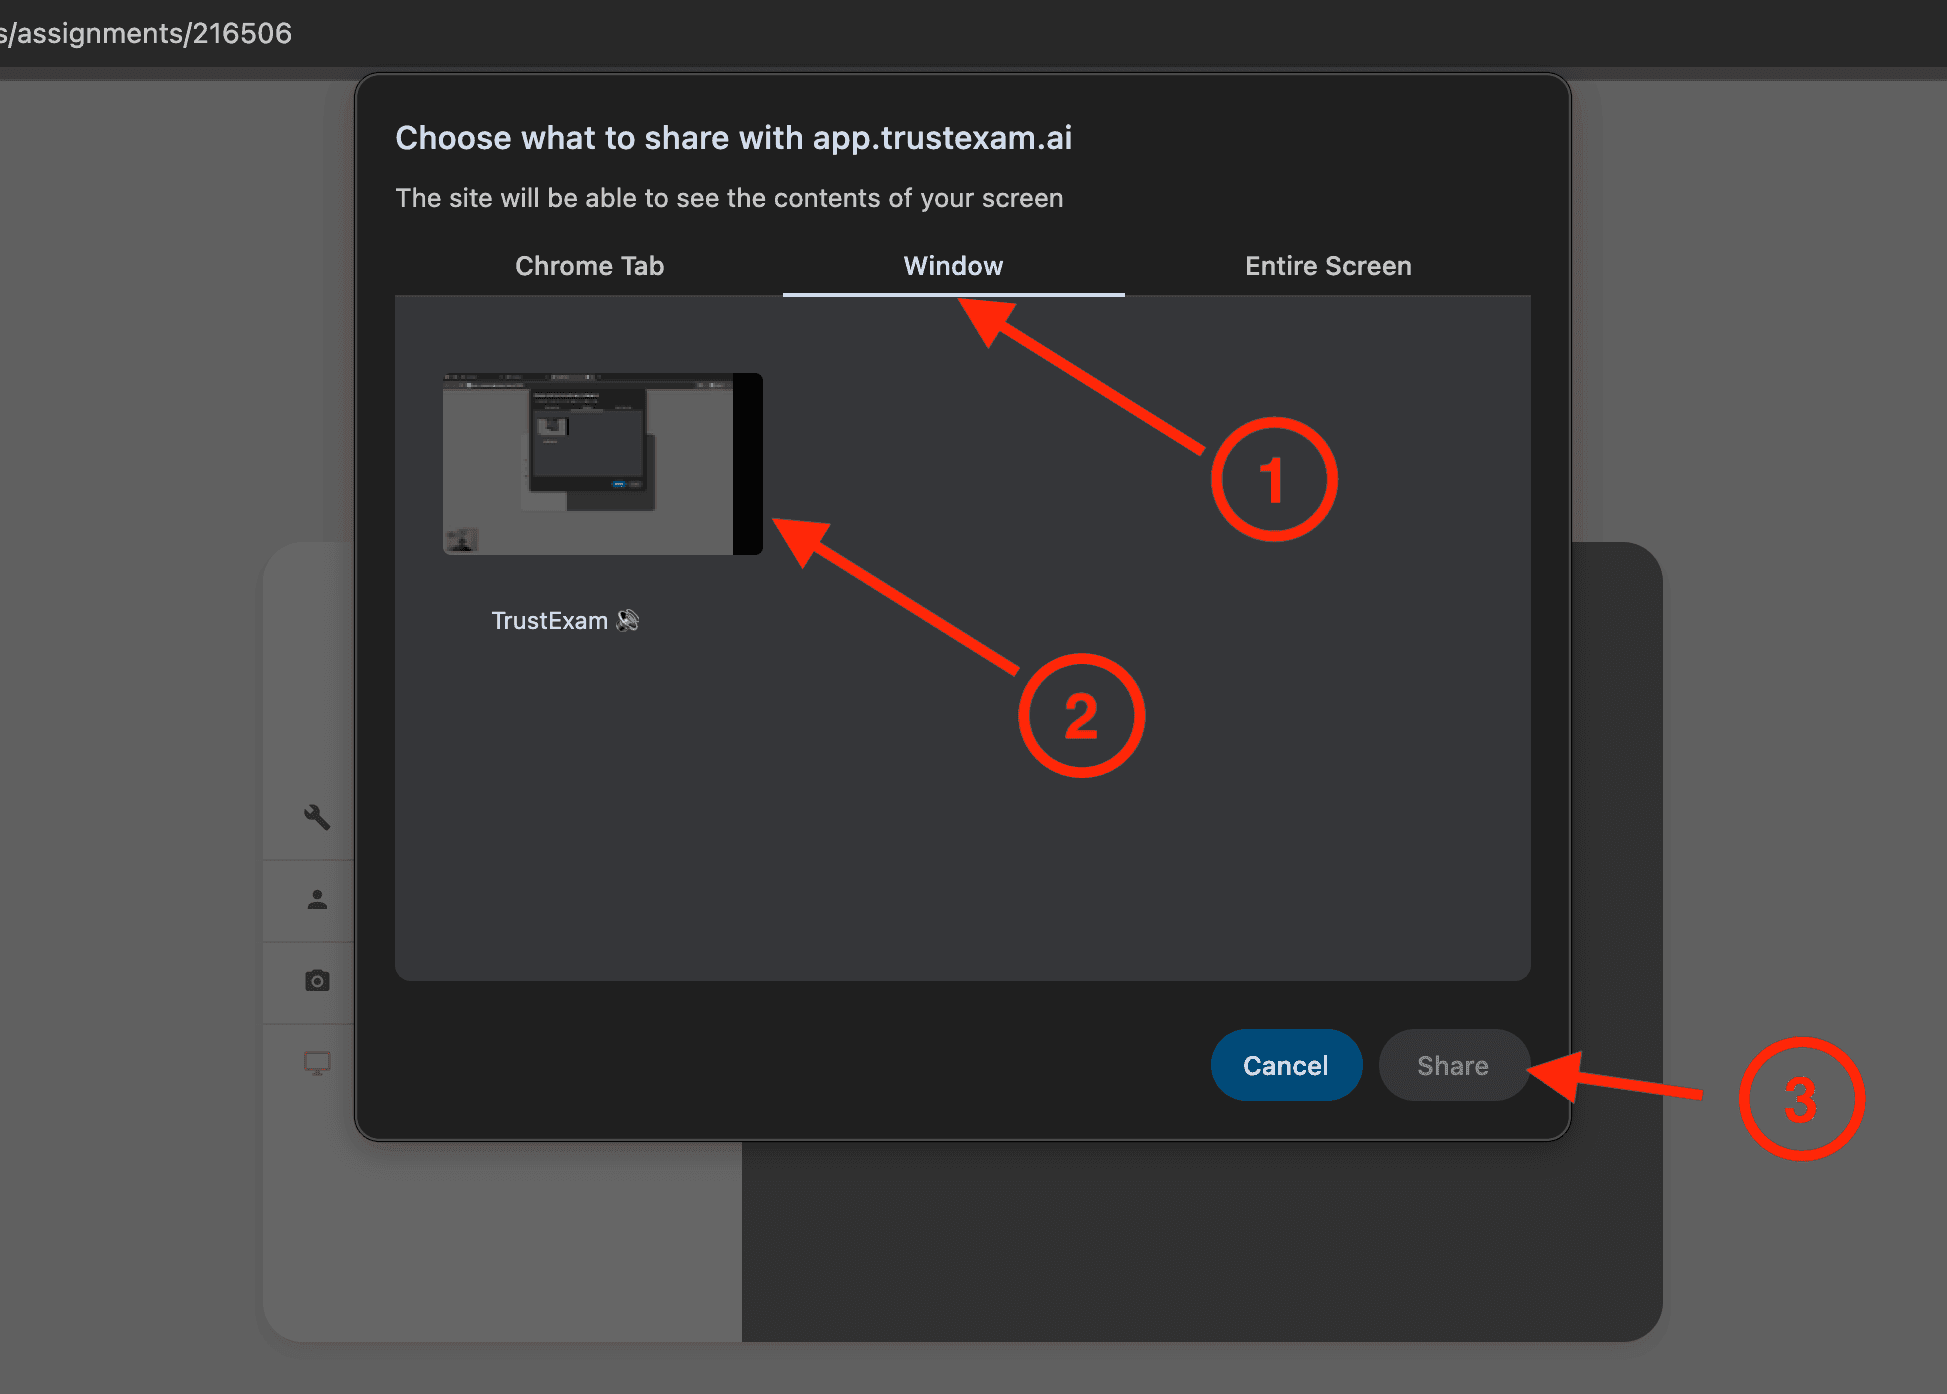
MacOS:
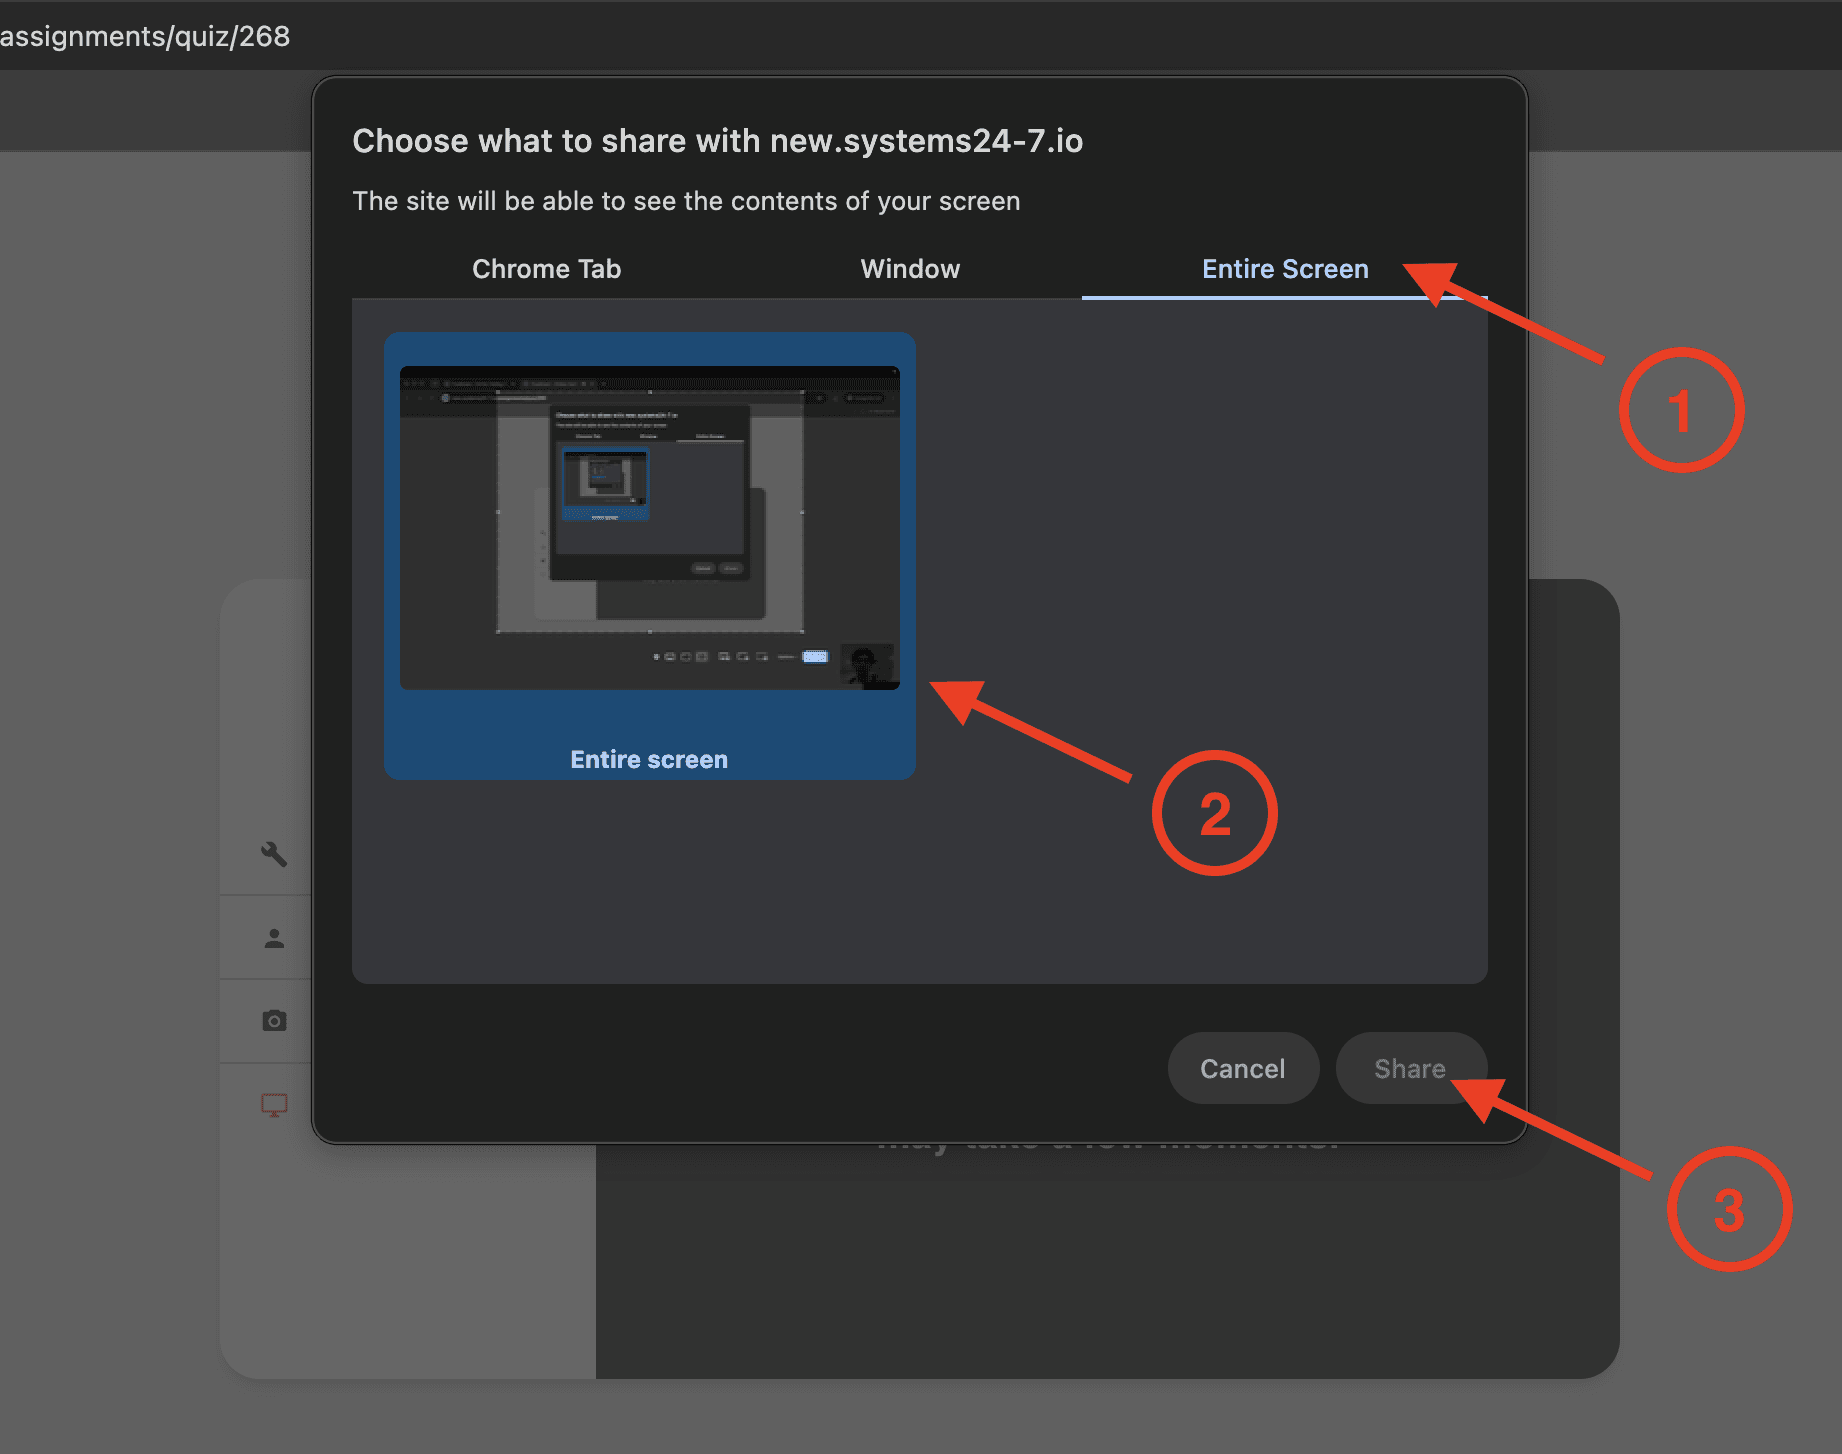
Next you have to connect or share your desktop with the browser, follow the prompts on screen:
Windows OS:
Support
In case of technical difficulties, you may message our support team members anytime, before, during, and after the exam, through our email