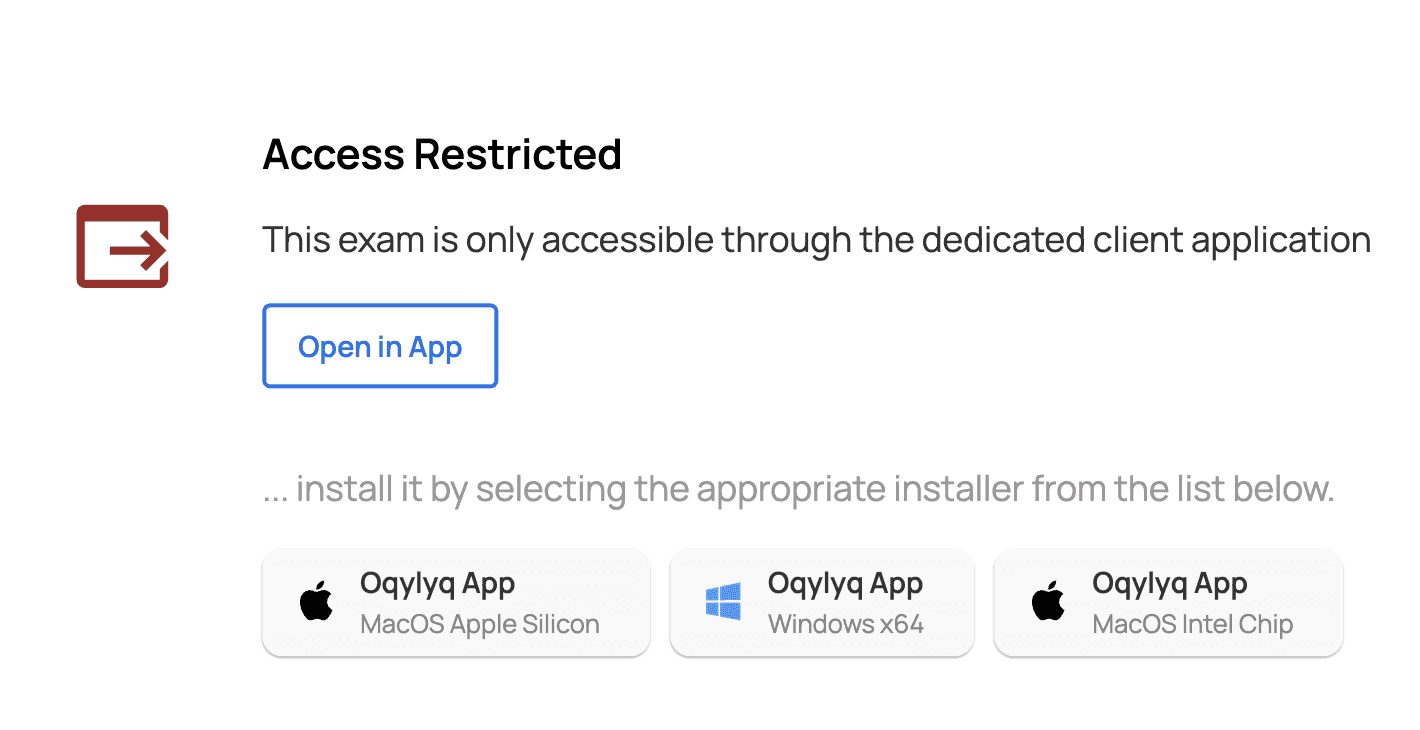
After accepting the agreement, you will see a notification about restricted access. This means that the "Application Type" in the test settings is set to Desktop App. The system will prompt you to install our application.
Please install it by selecting the appropriate installer from the list for your operating system(Windows 64-bit, MacOS):
Installing a Desktop App
MacOS Installation
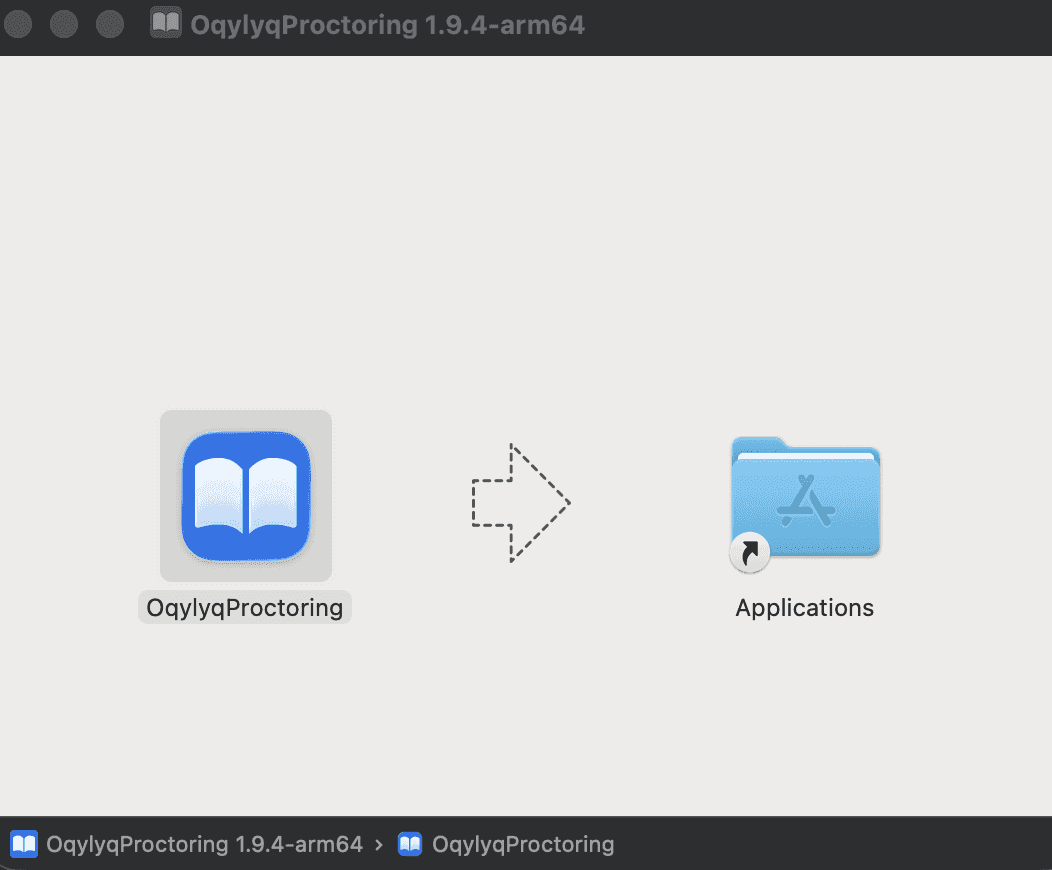
After downloading the .dmg file, move the application to the Applications folder.
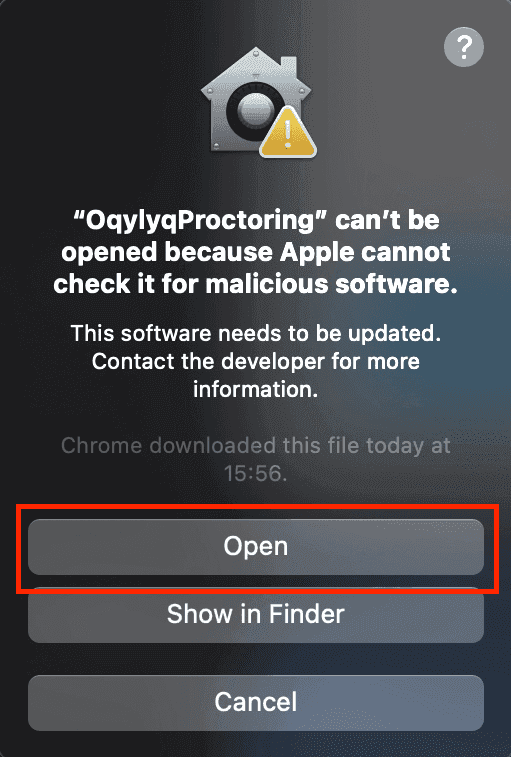
After launching the application, if the following notification appears:
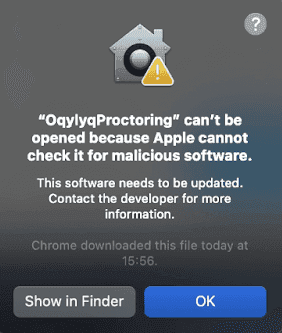
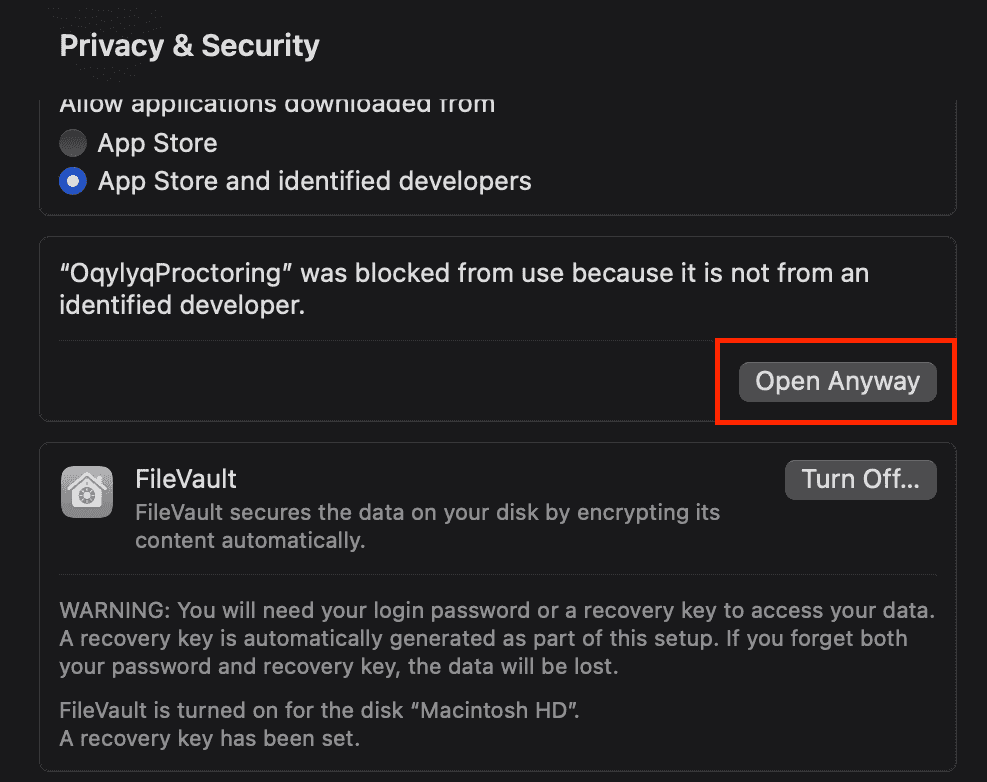
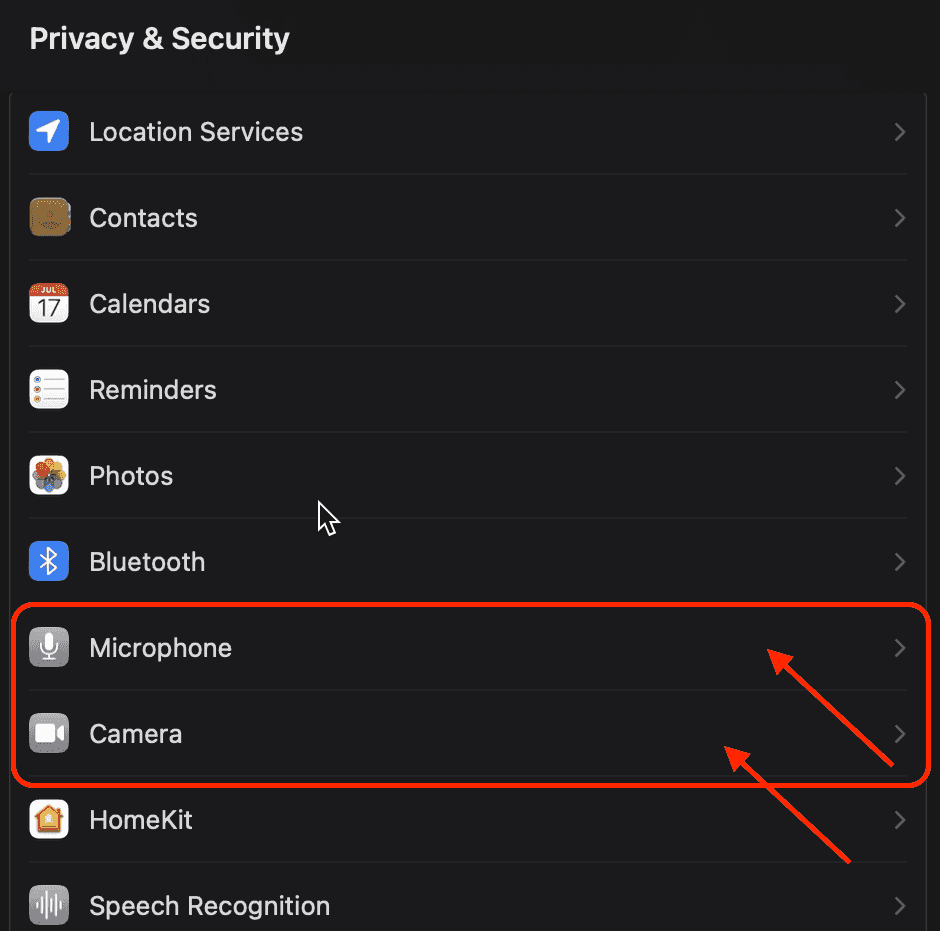
To resolve this issue, open “Settings” and navigate to “Privacy & Security”. Scroll down until you see a message saying that the exam application was blocked because the developer could not be verified. Click “Open Anyway” to allow the application to run.
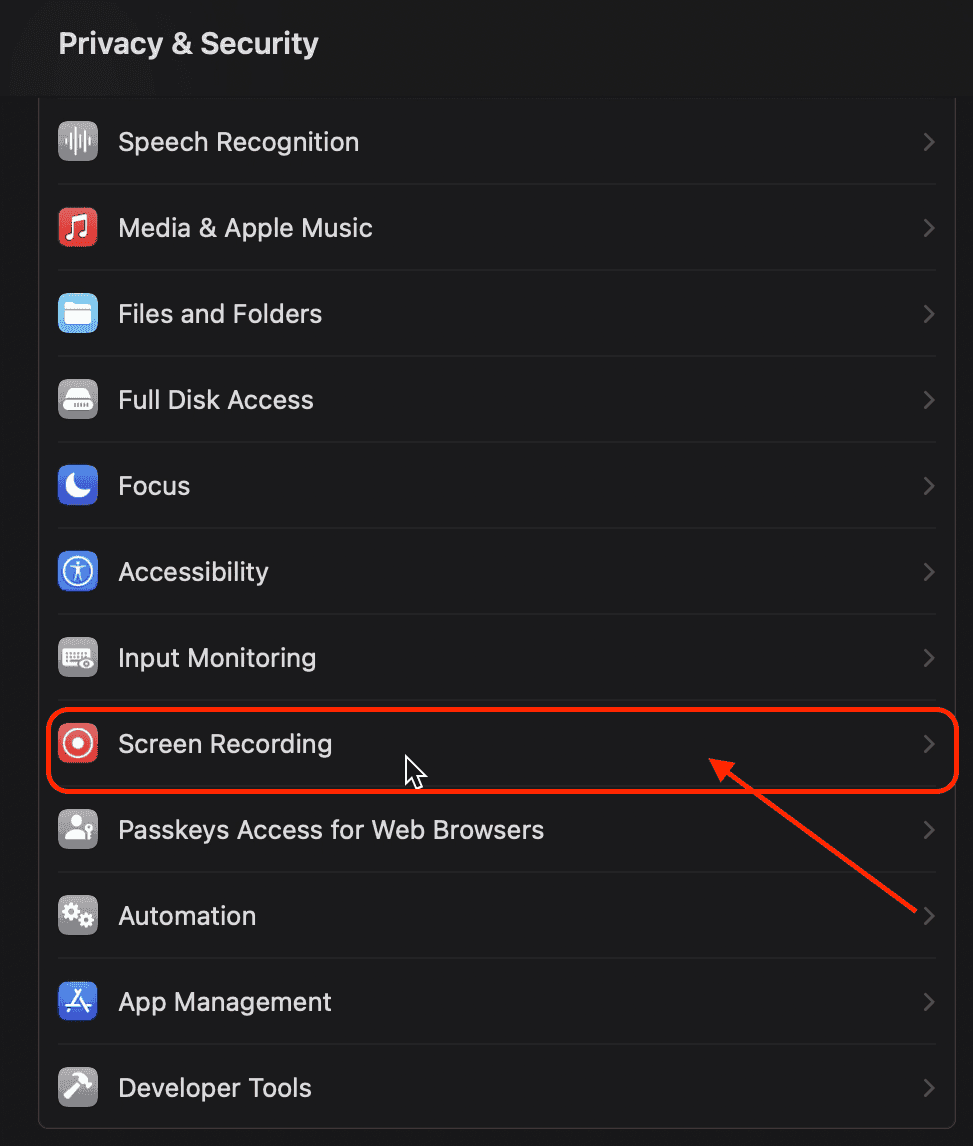
Next, go to “Screen Recording” and add the TrustExam application to the list of allowed programs.
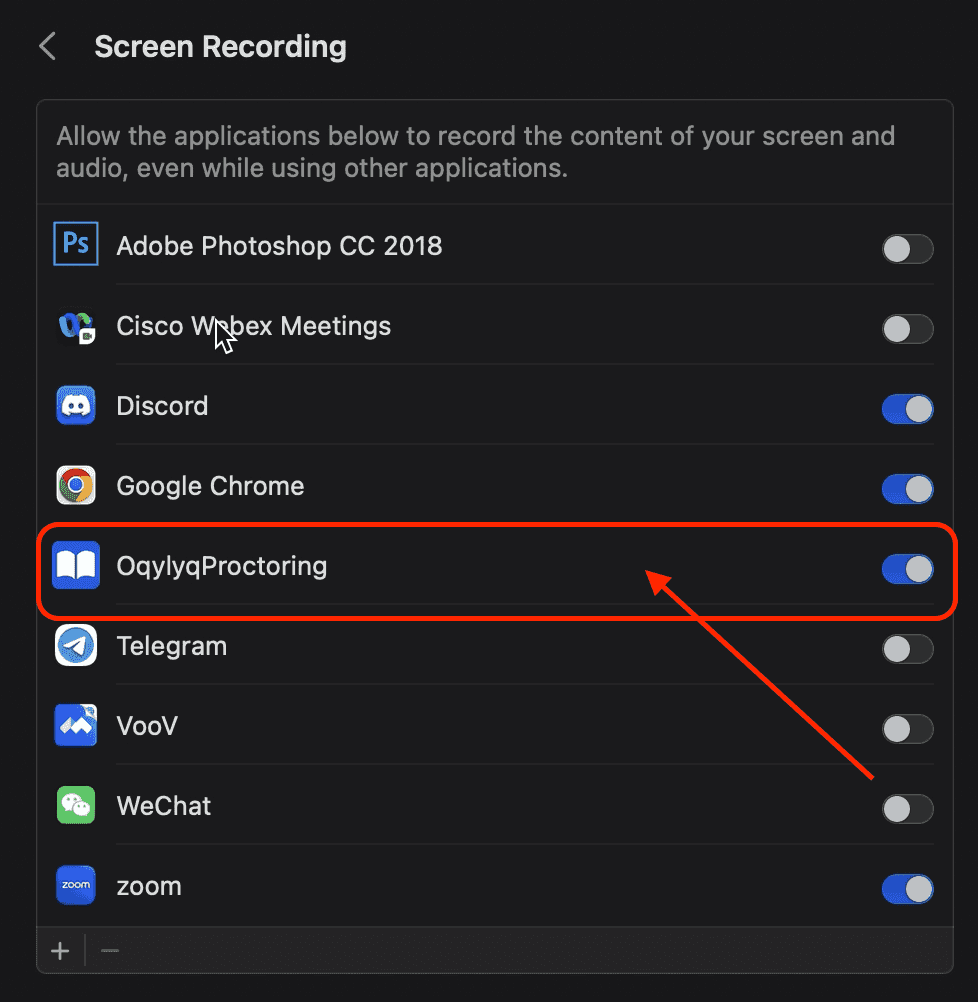
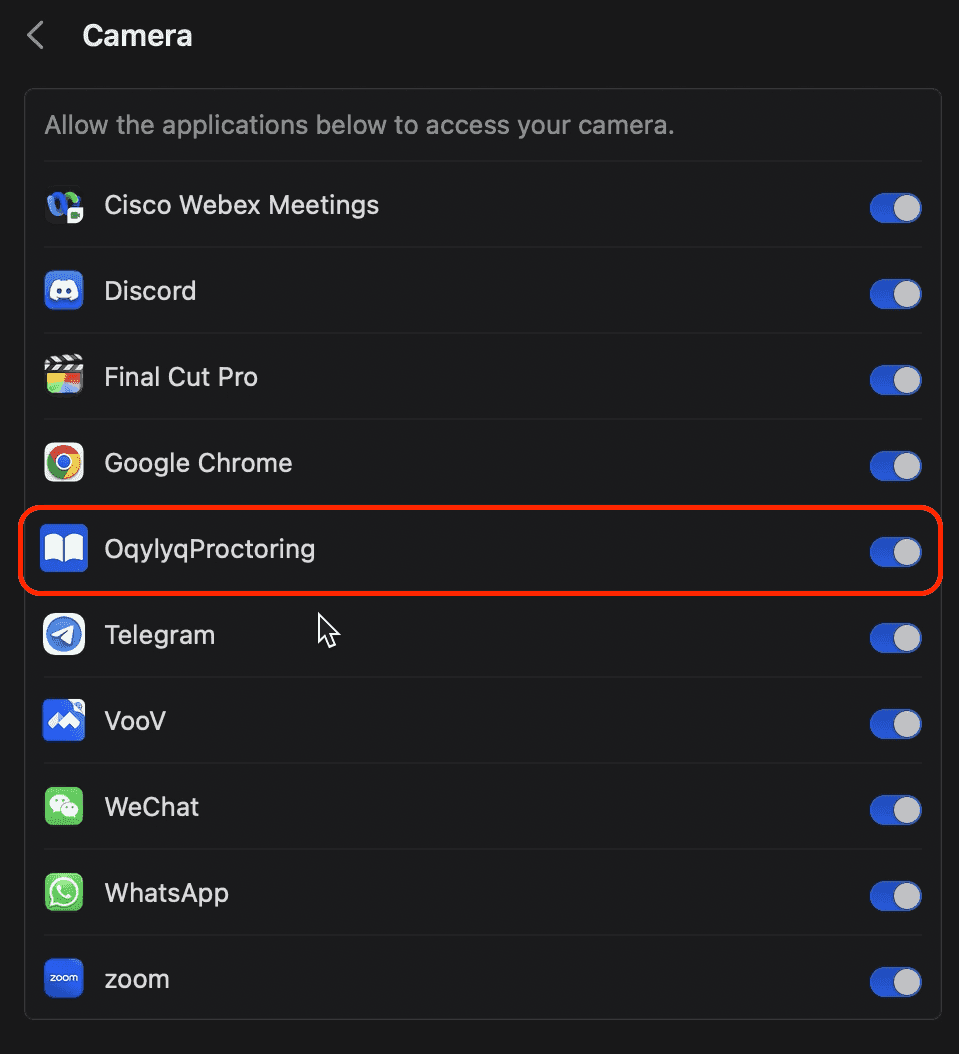
Perform similar actions in the settings of microphone and camera.
Windows Installation
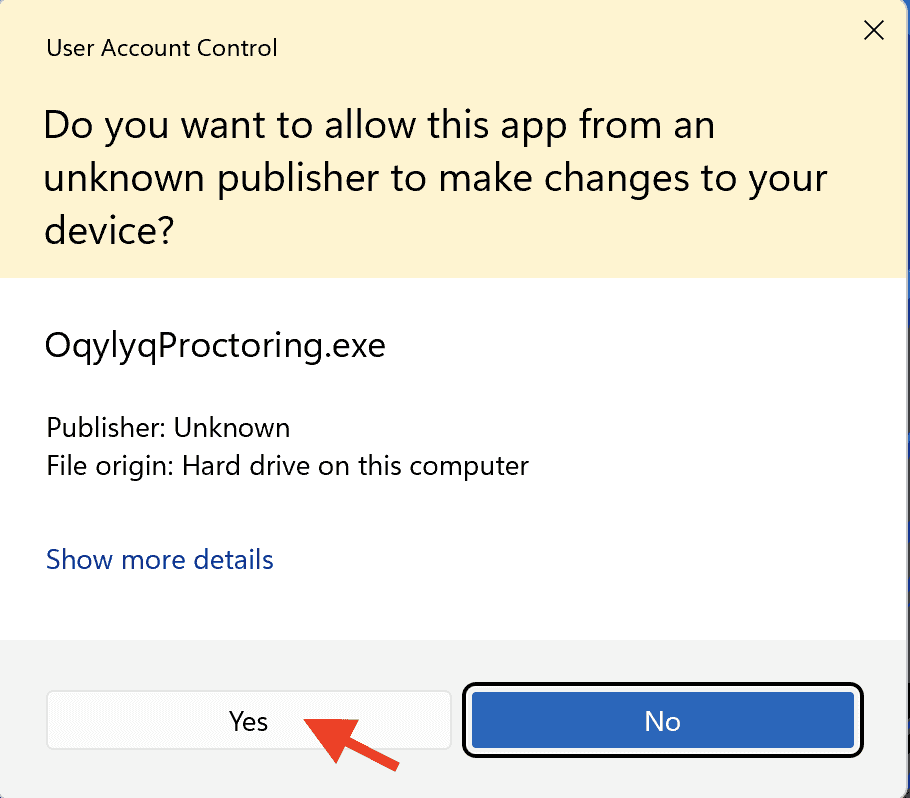
After downloading the .exe file and launching it, the following notification may appear:
Before you start your test it is better to check in the Settings that our app has access to your webcam, microphone, and desktop screen
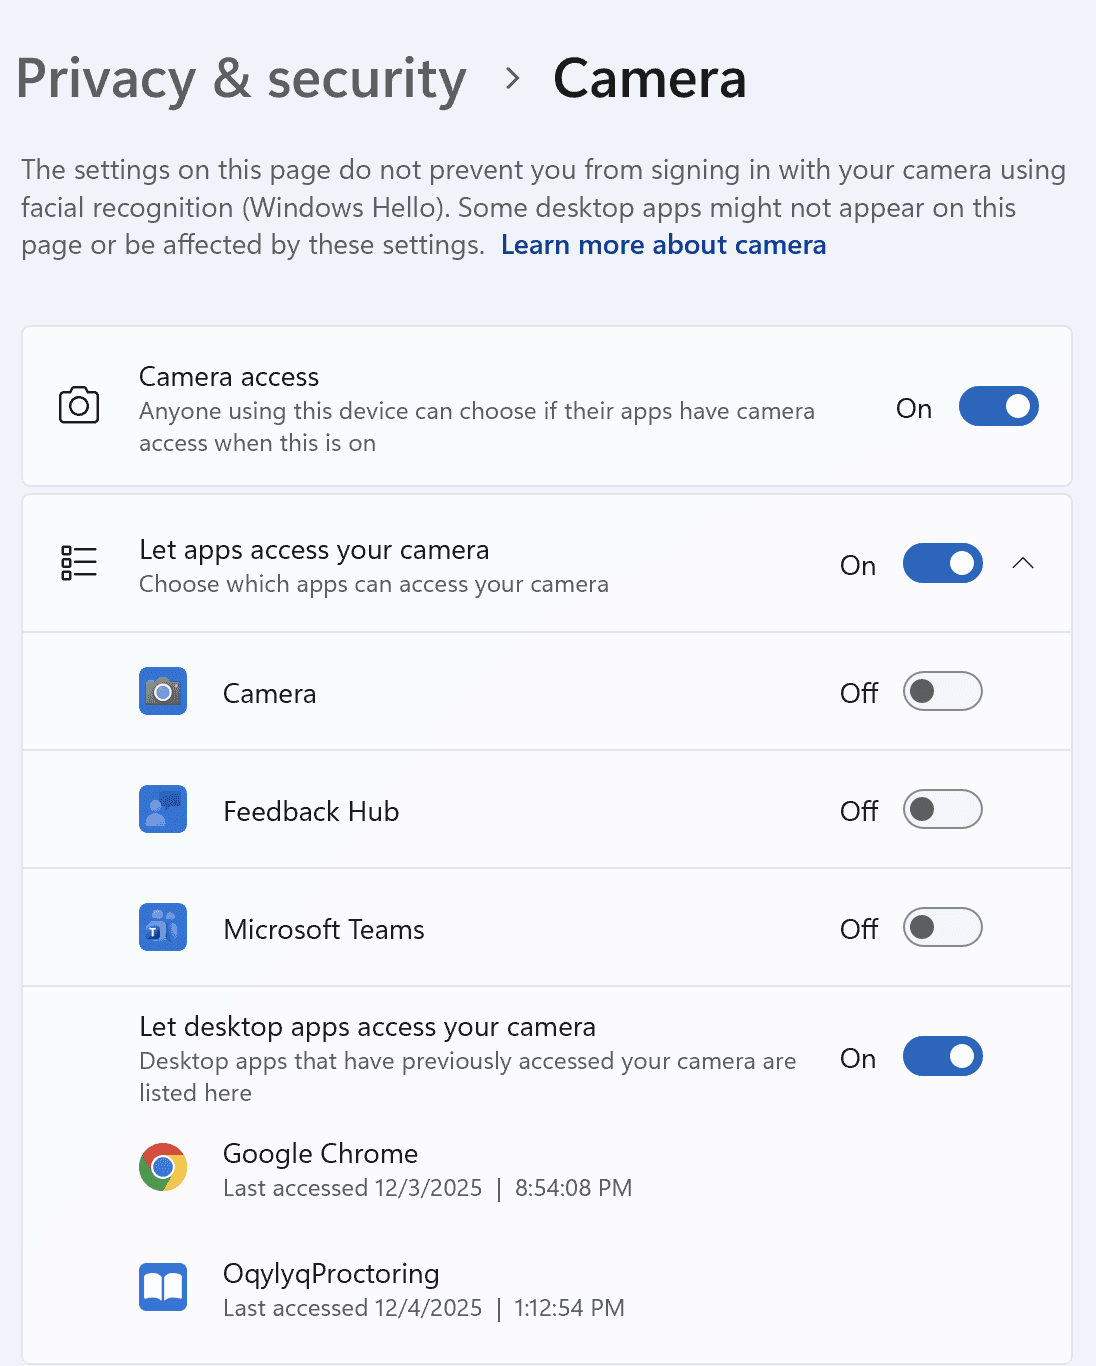
Camera Access
Open Settings
Go to Privacy
Select Camera
Enable: Allow apps to access your camera
Ensure our app has access to it
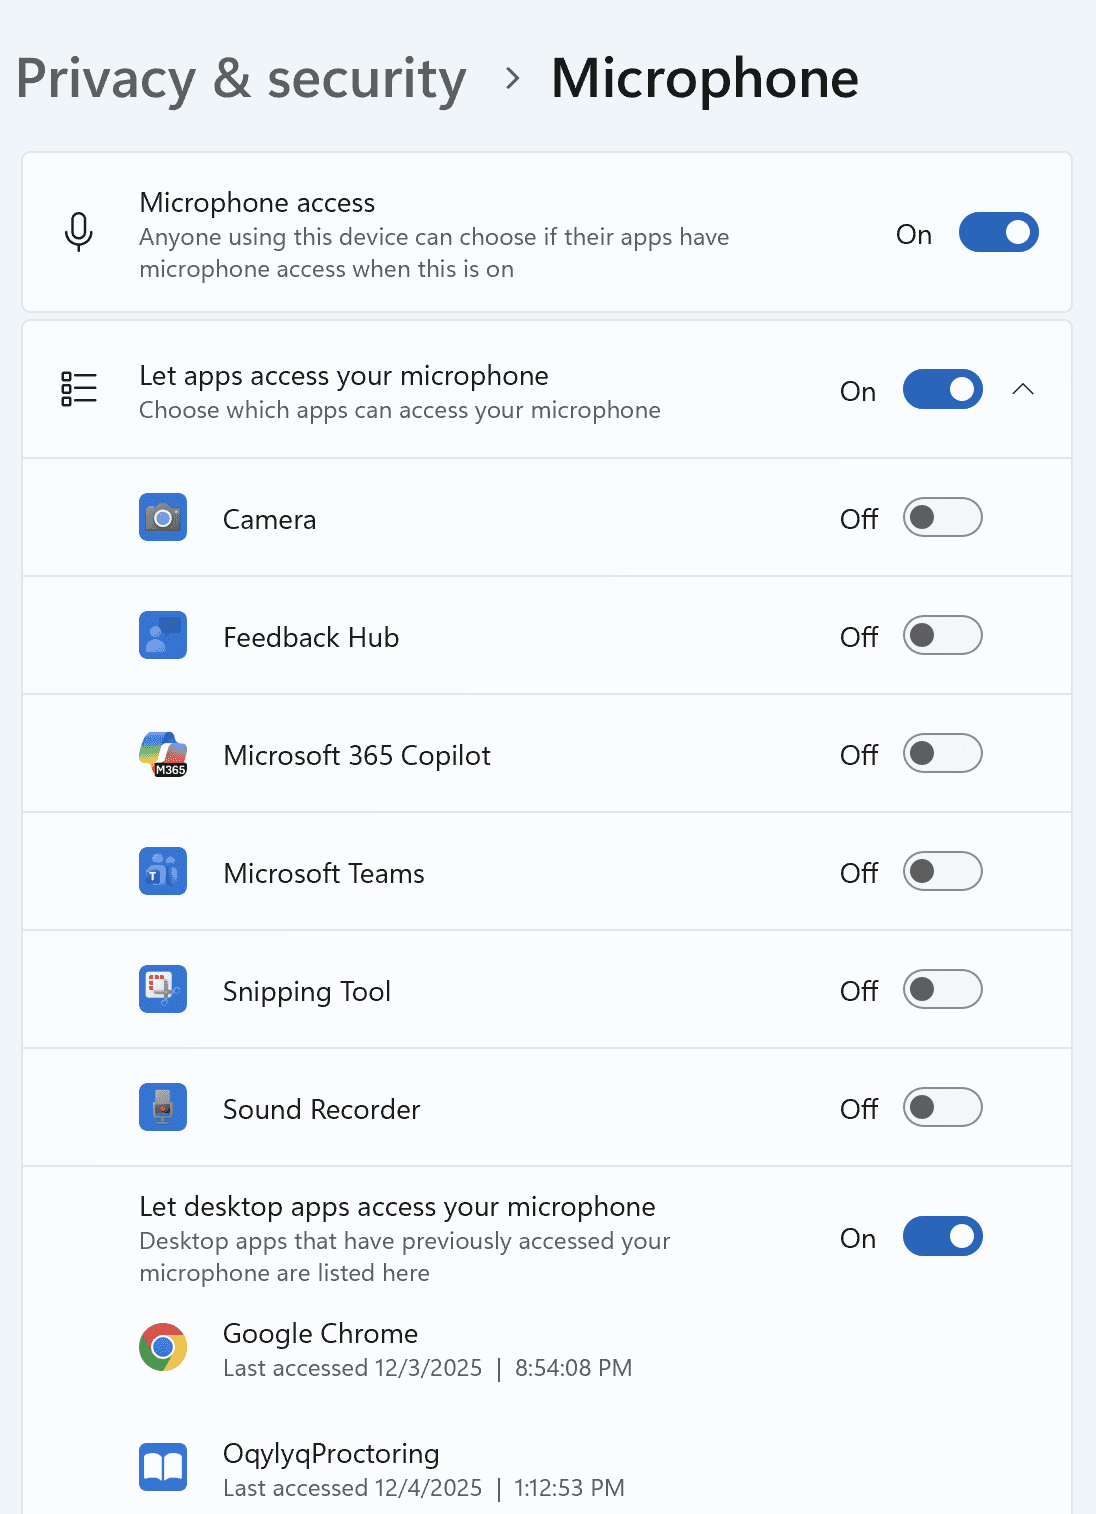
Microphone Access
Open Settings
Go to Privacy
Select Microphone
Enable: Allow apps to access your microphone
Ensure our app has access to it
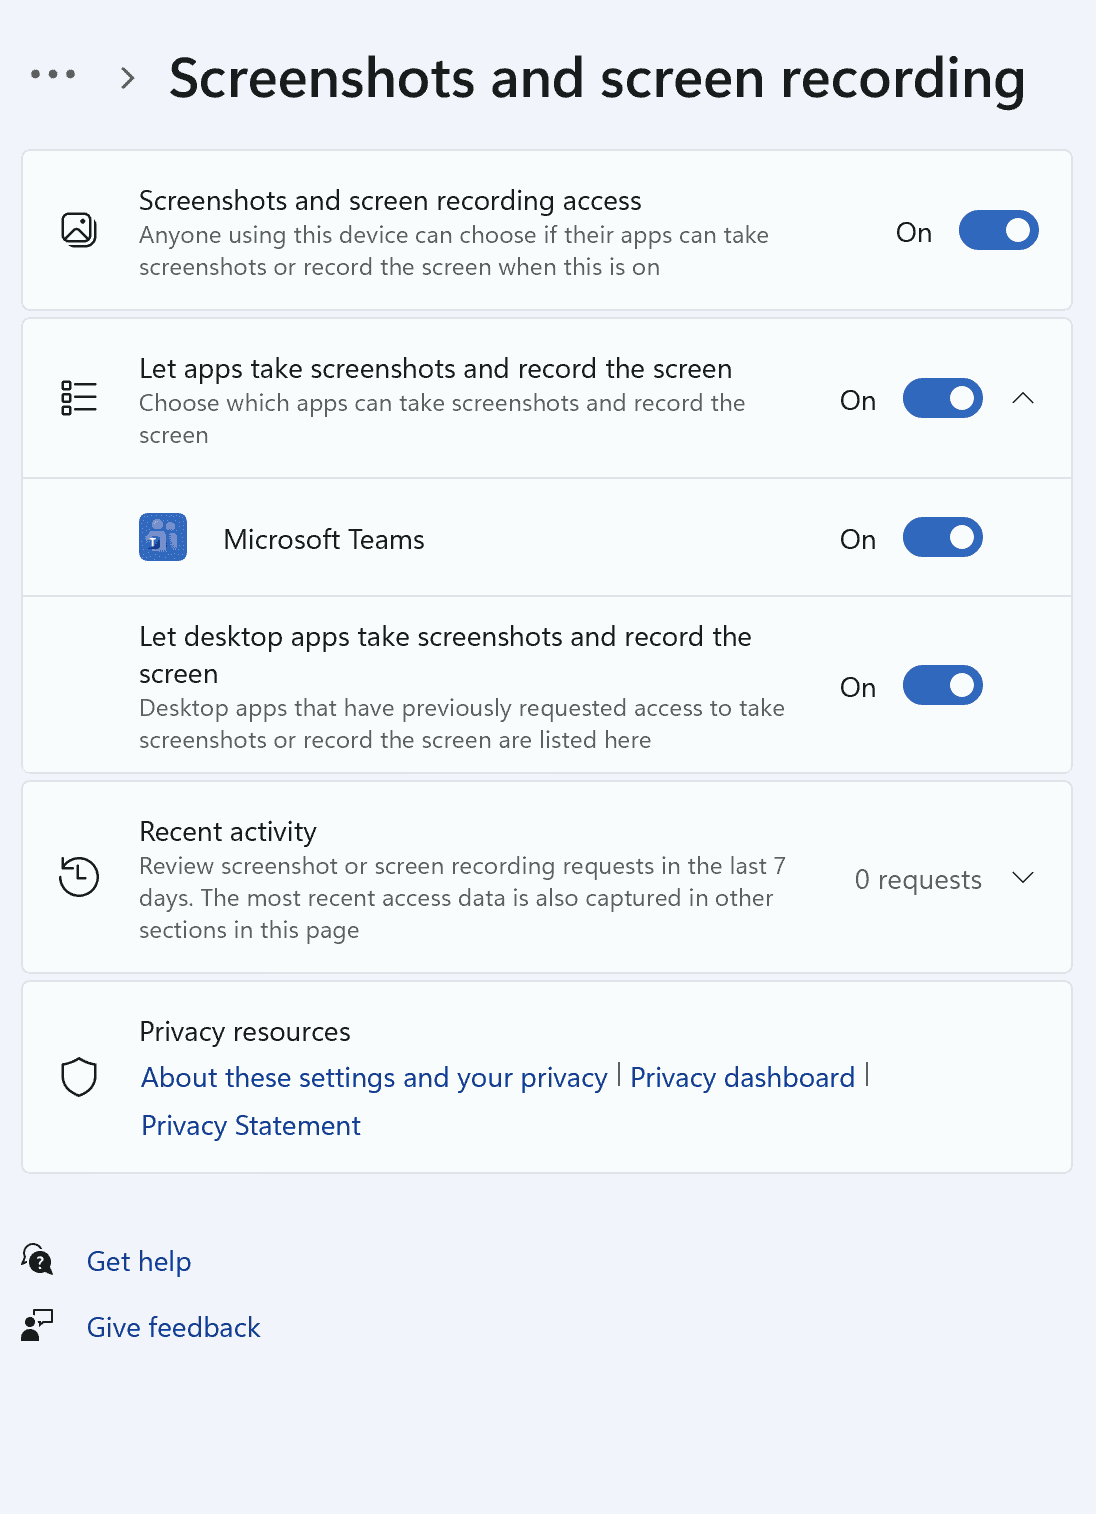
Desktop Access
Open Settings
Go to Privacy
Select Screenshots and screen recording
Enable: Allow apps to access your screen
Ensure our app has access to it
Starting test setup
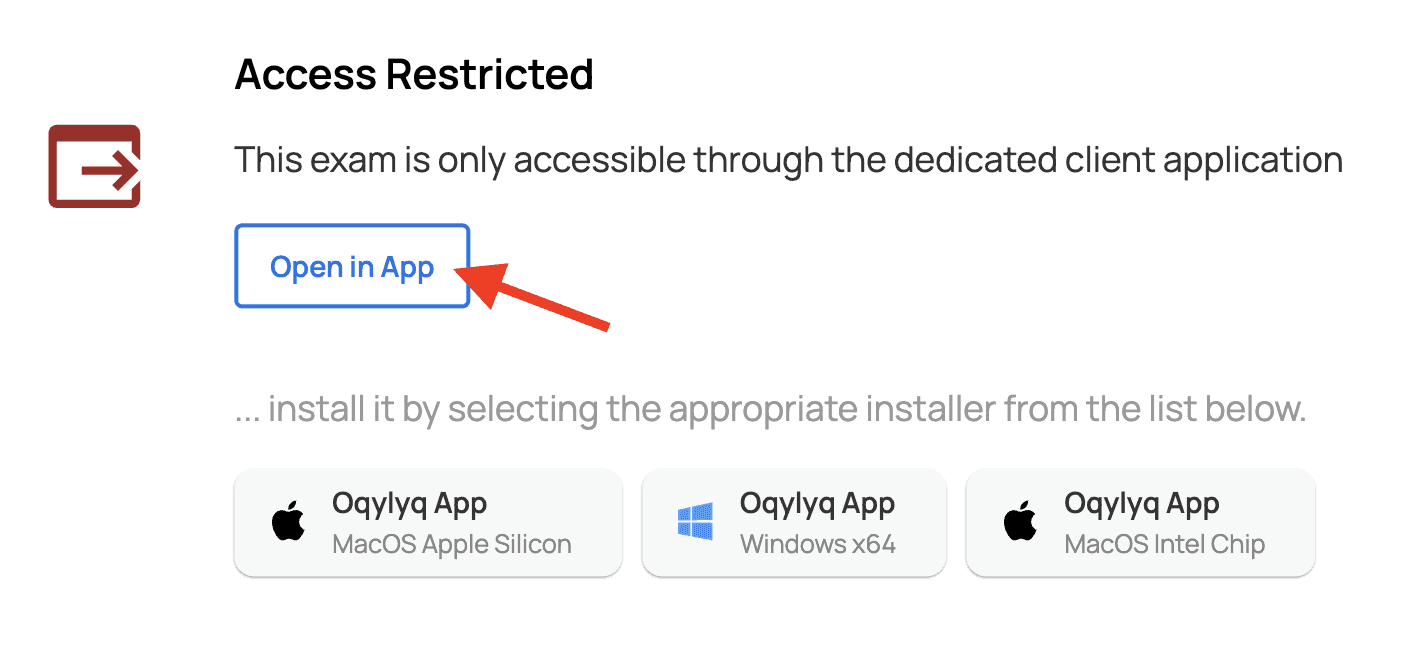
Before starting your test, make sure that the app is open. Then move back to the browser and press the button called "Open in App"
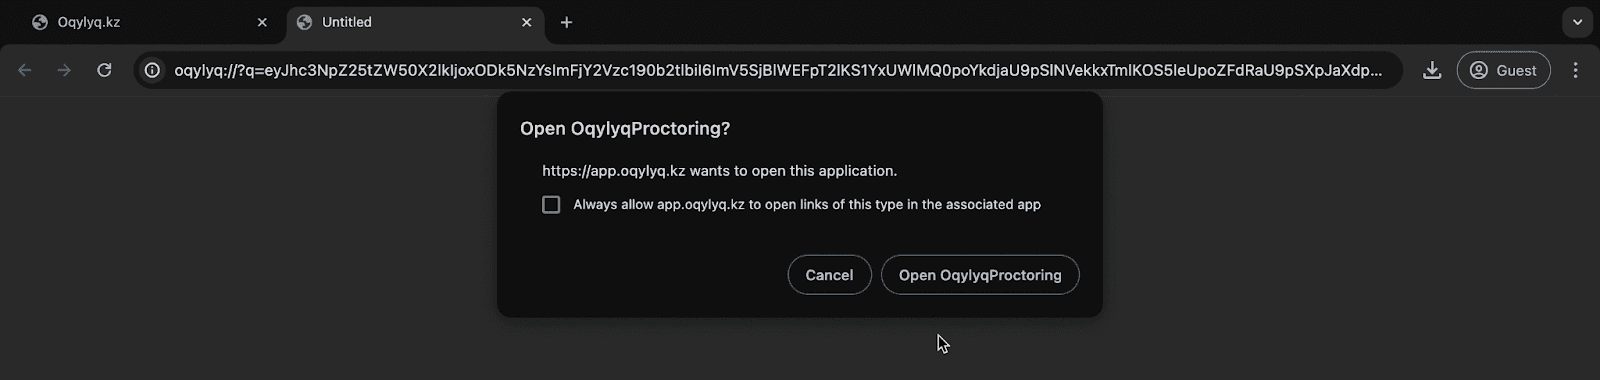
You will be redirected to a new tab where you will be prompted to open our app.
After you are redirected to the app, you have another chance to get to know the exam rules
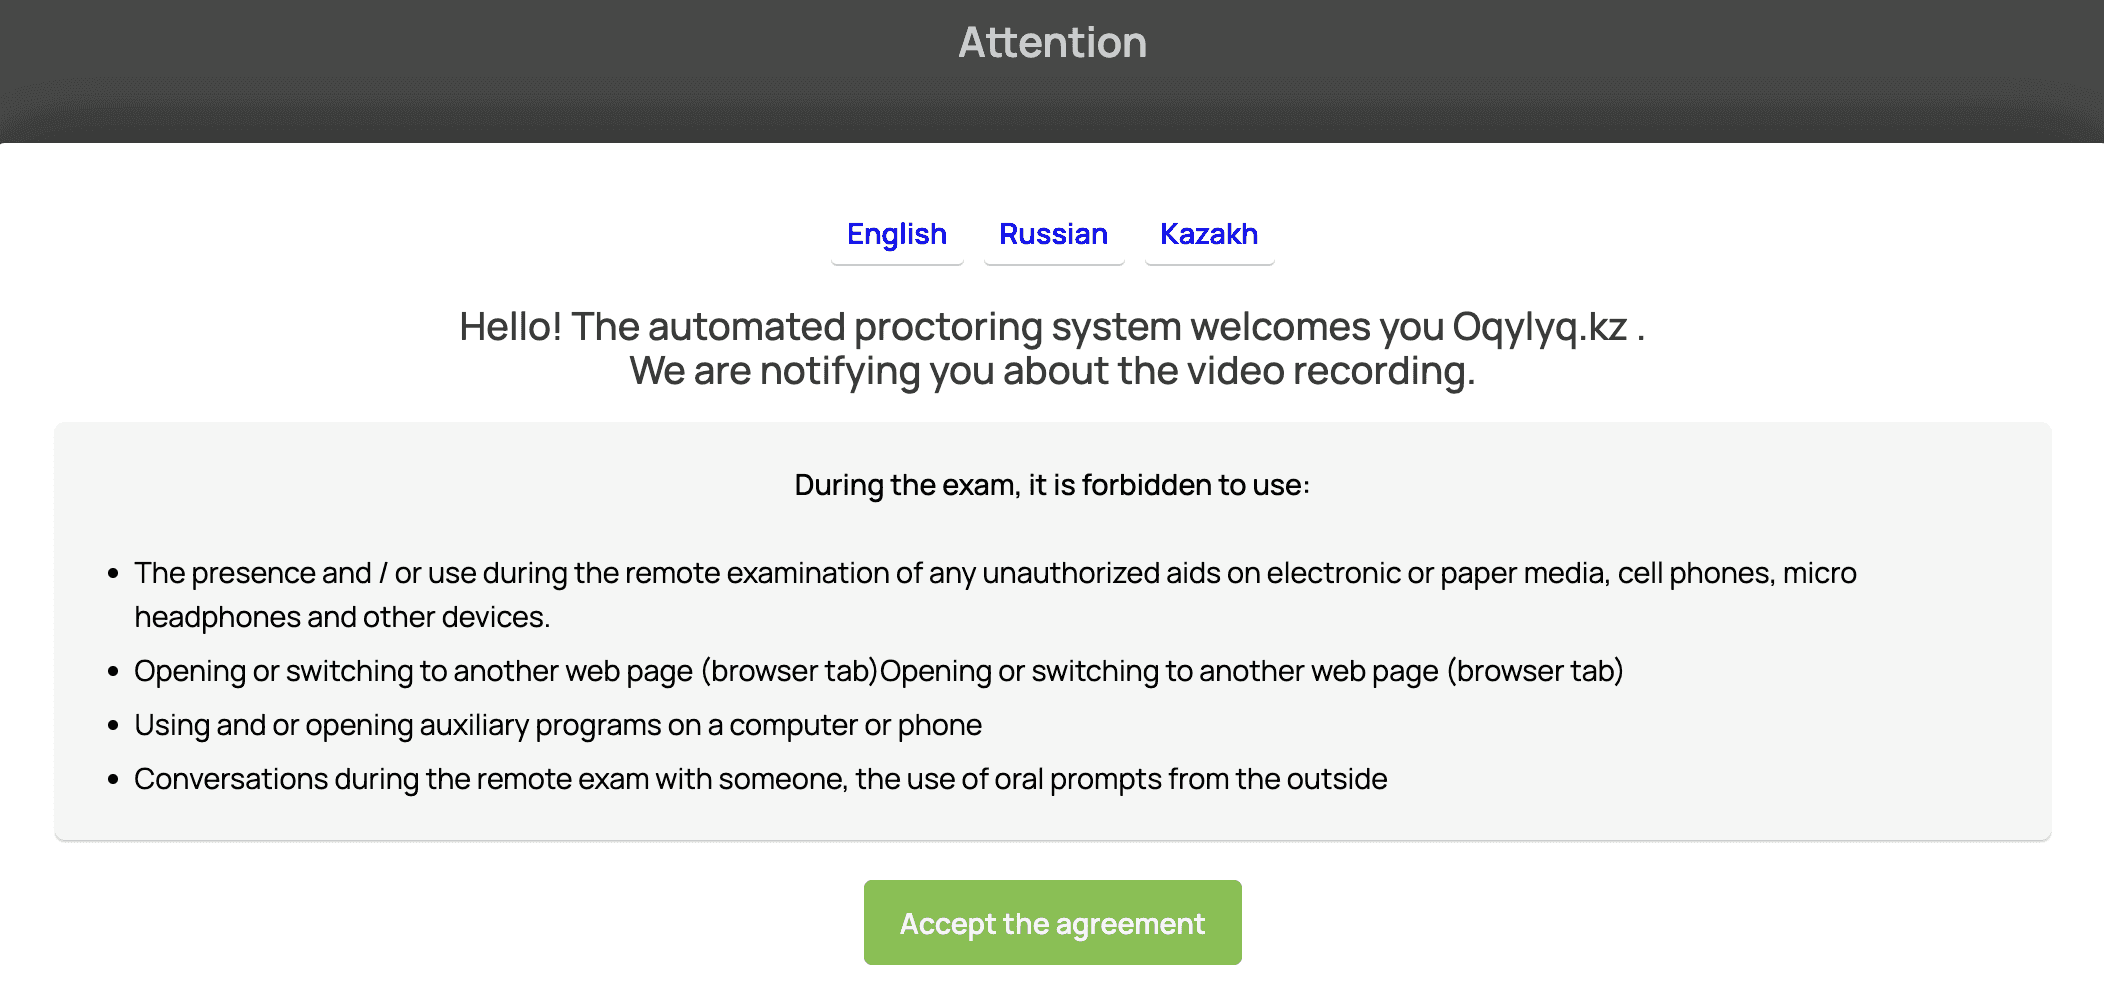
After accepting the agreement, our system will begin initialization. This process includes:
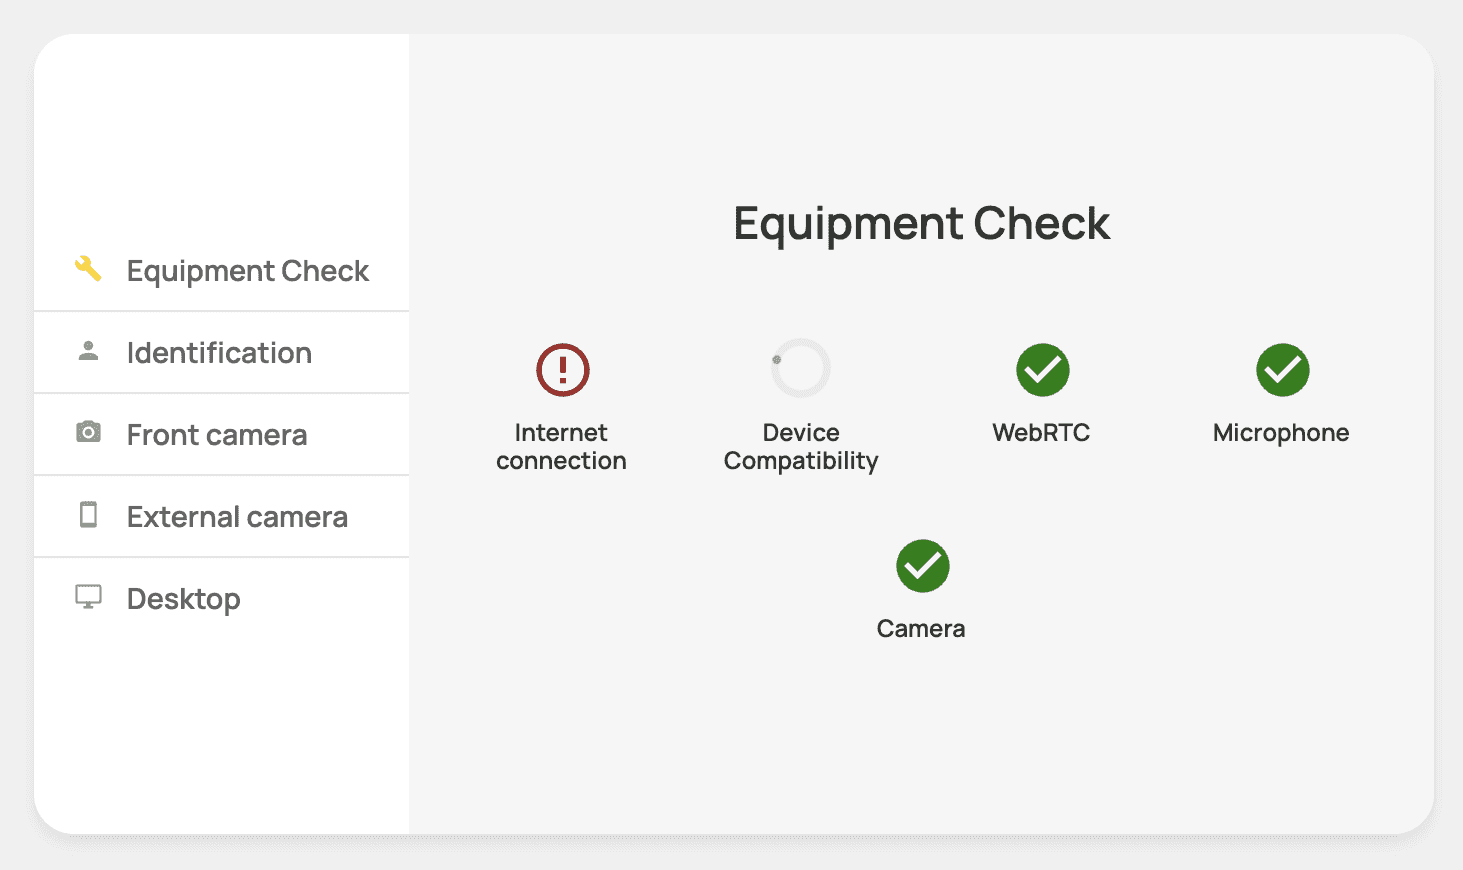
Automatic equipment check: the system will verify that your device meets the technical requirements
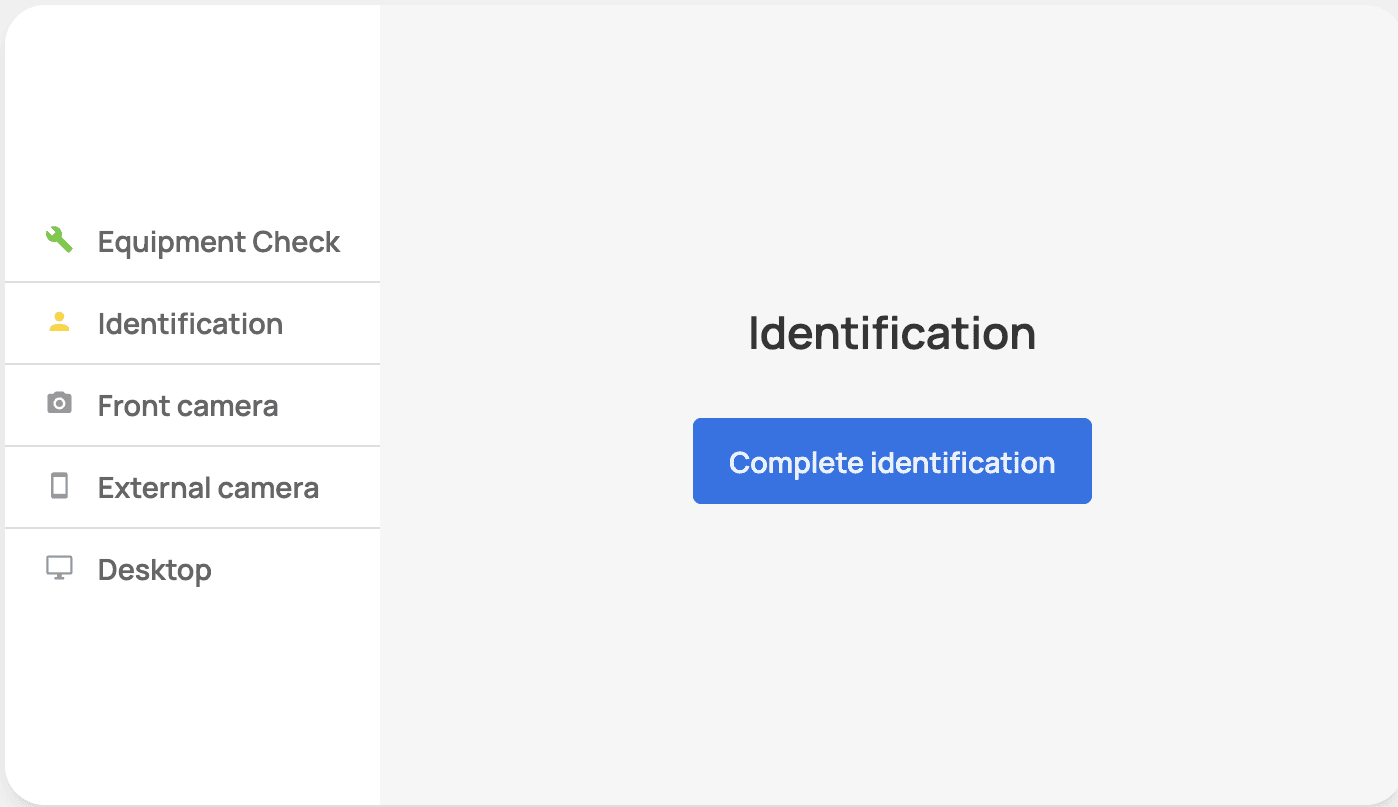
User identification: identity confirmation through the webcam
If you have any assistive technologies enabled (for example, remote access tools, virtual cameras) or additional monitors connected, please disable them and try again. This is necessary for the correct functioning of the system and to comply with the testing rules.
Connecting an external camera
Follow these steps to connect an additional camera using your mobile device:
1. Open the External Camera Setup Window
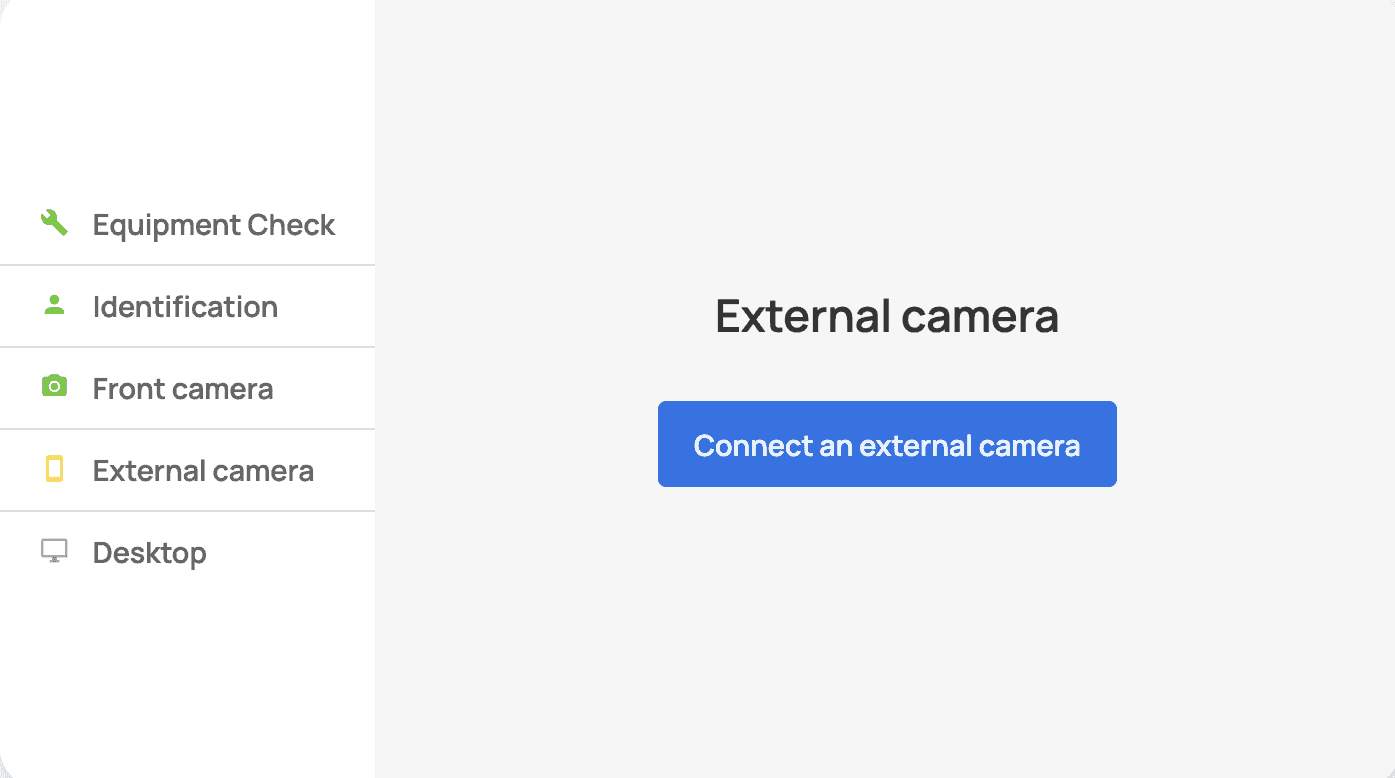
A button labeled “Connecting an external camera” will appear. After clicking it, a special section with a QR code will be displayed on your screen.
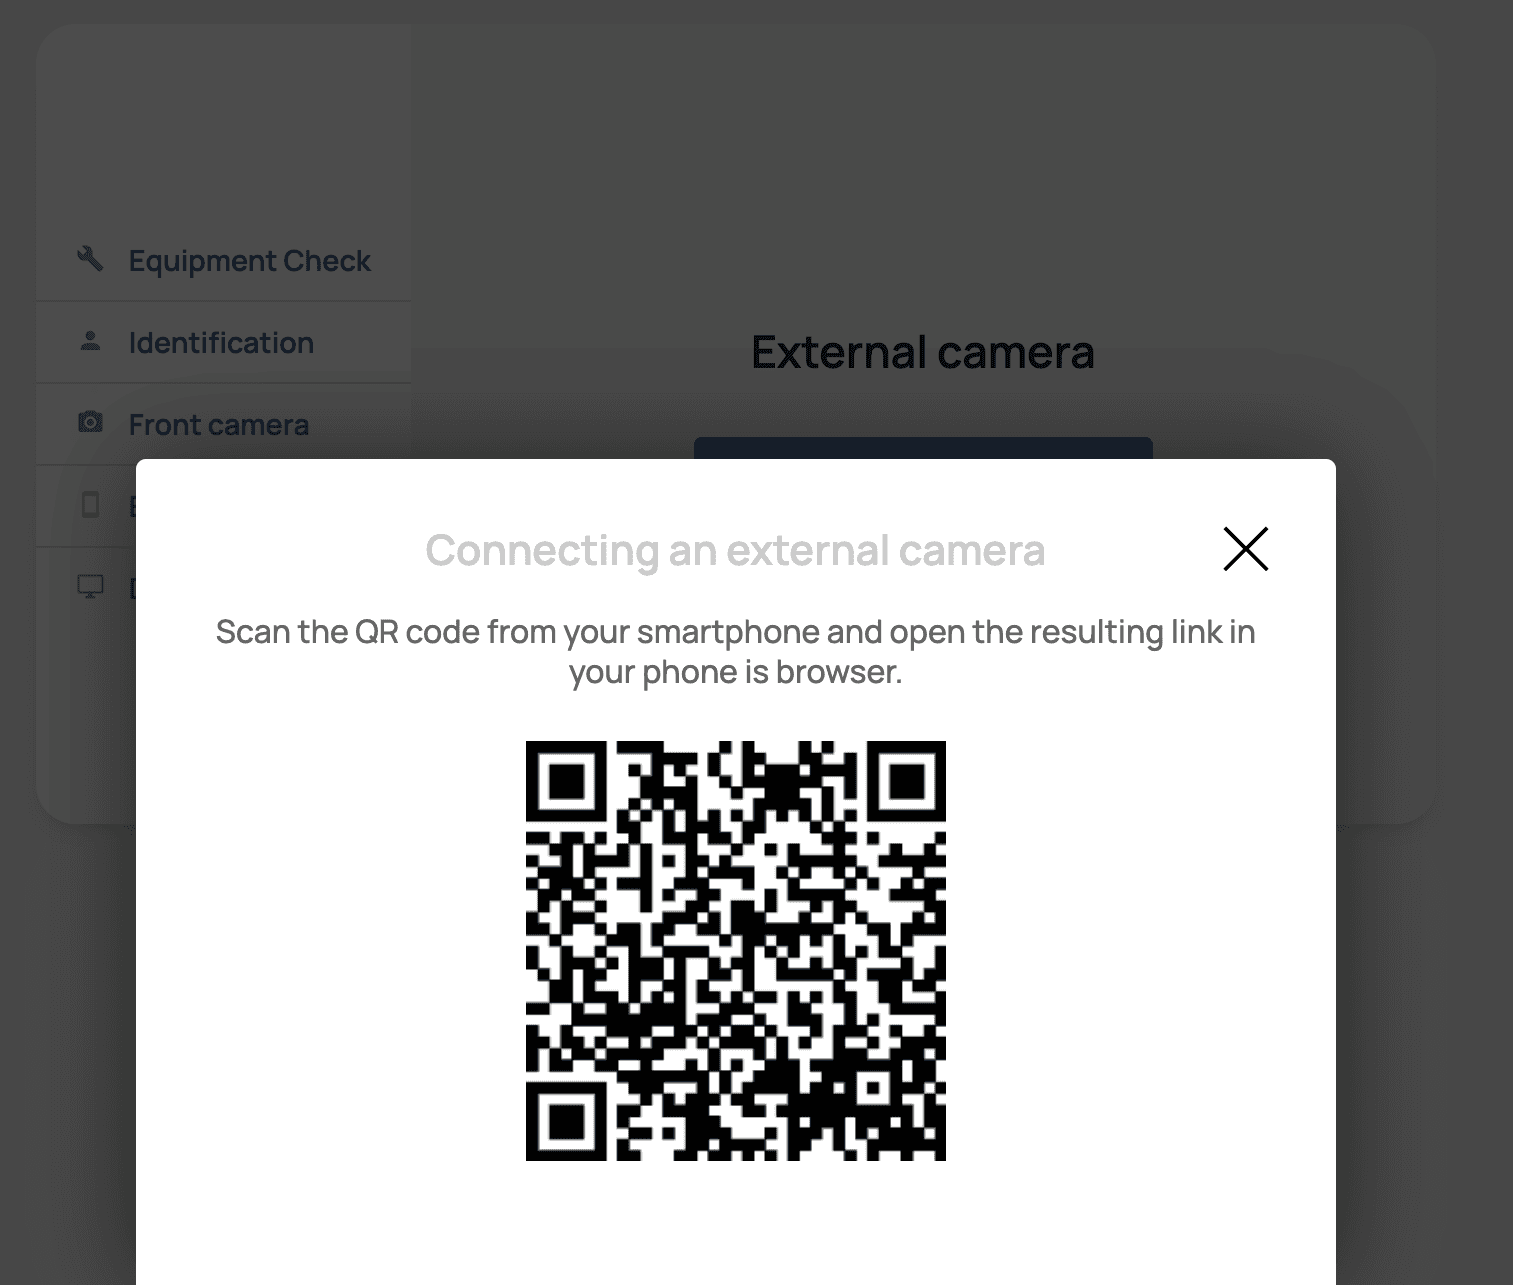
2. Scan the QR Code
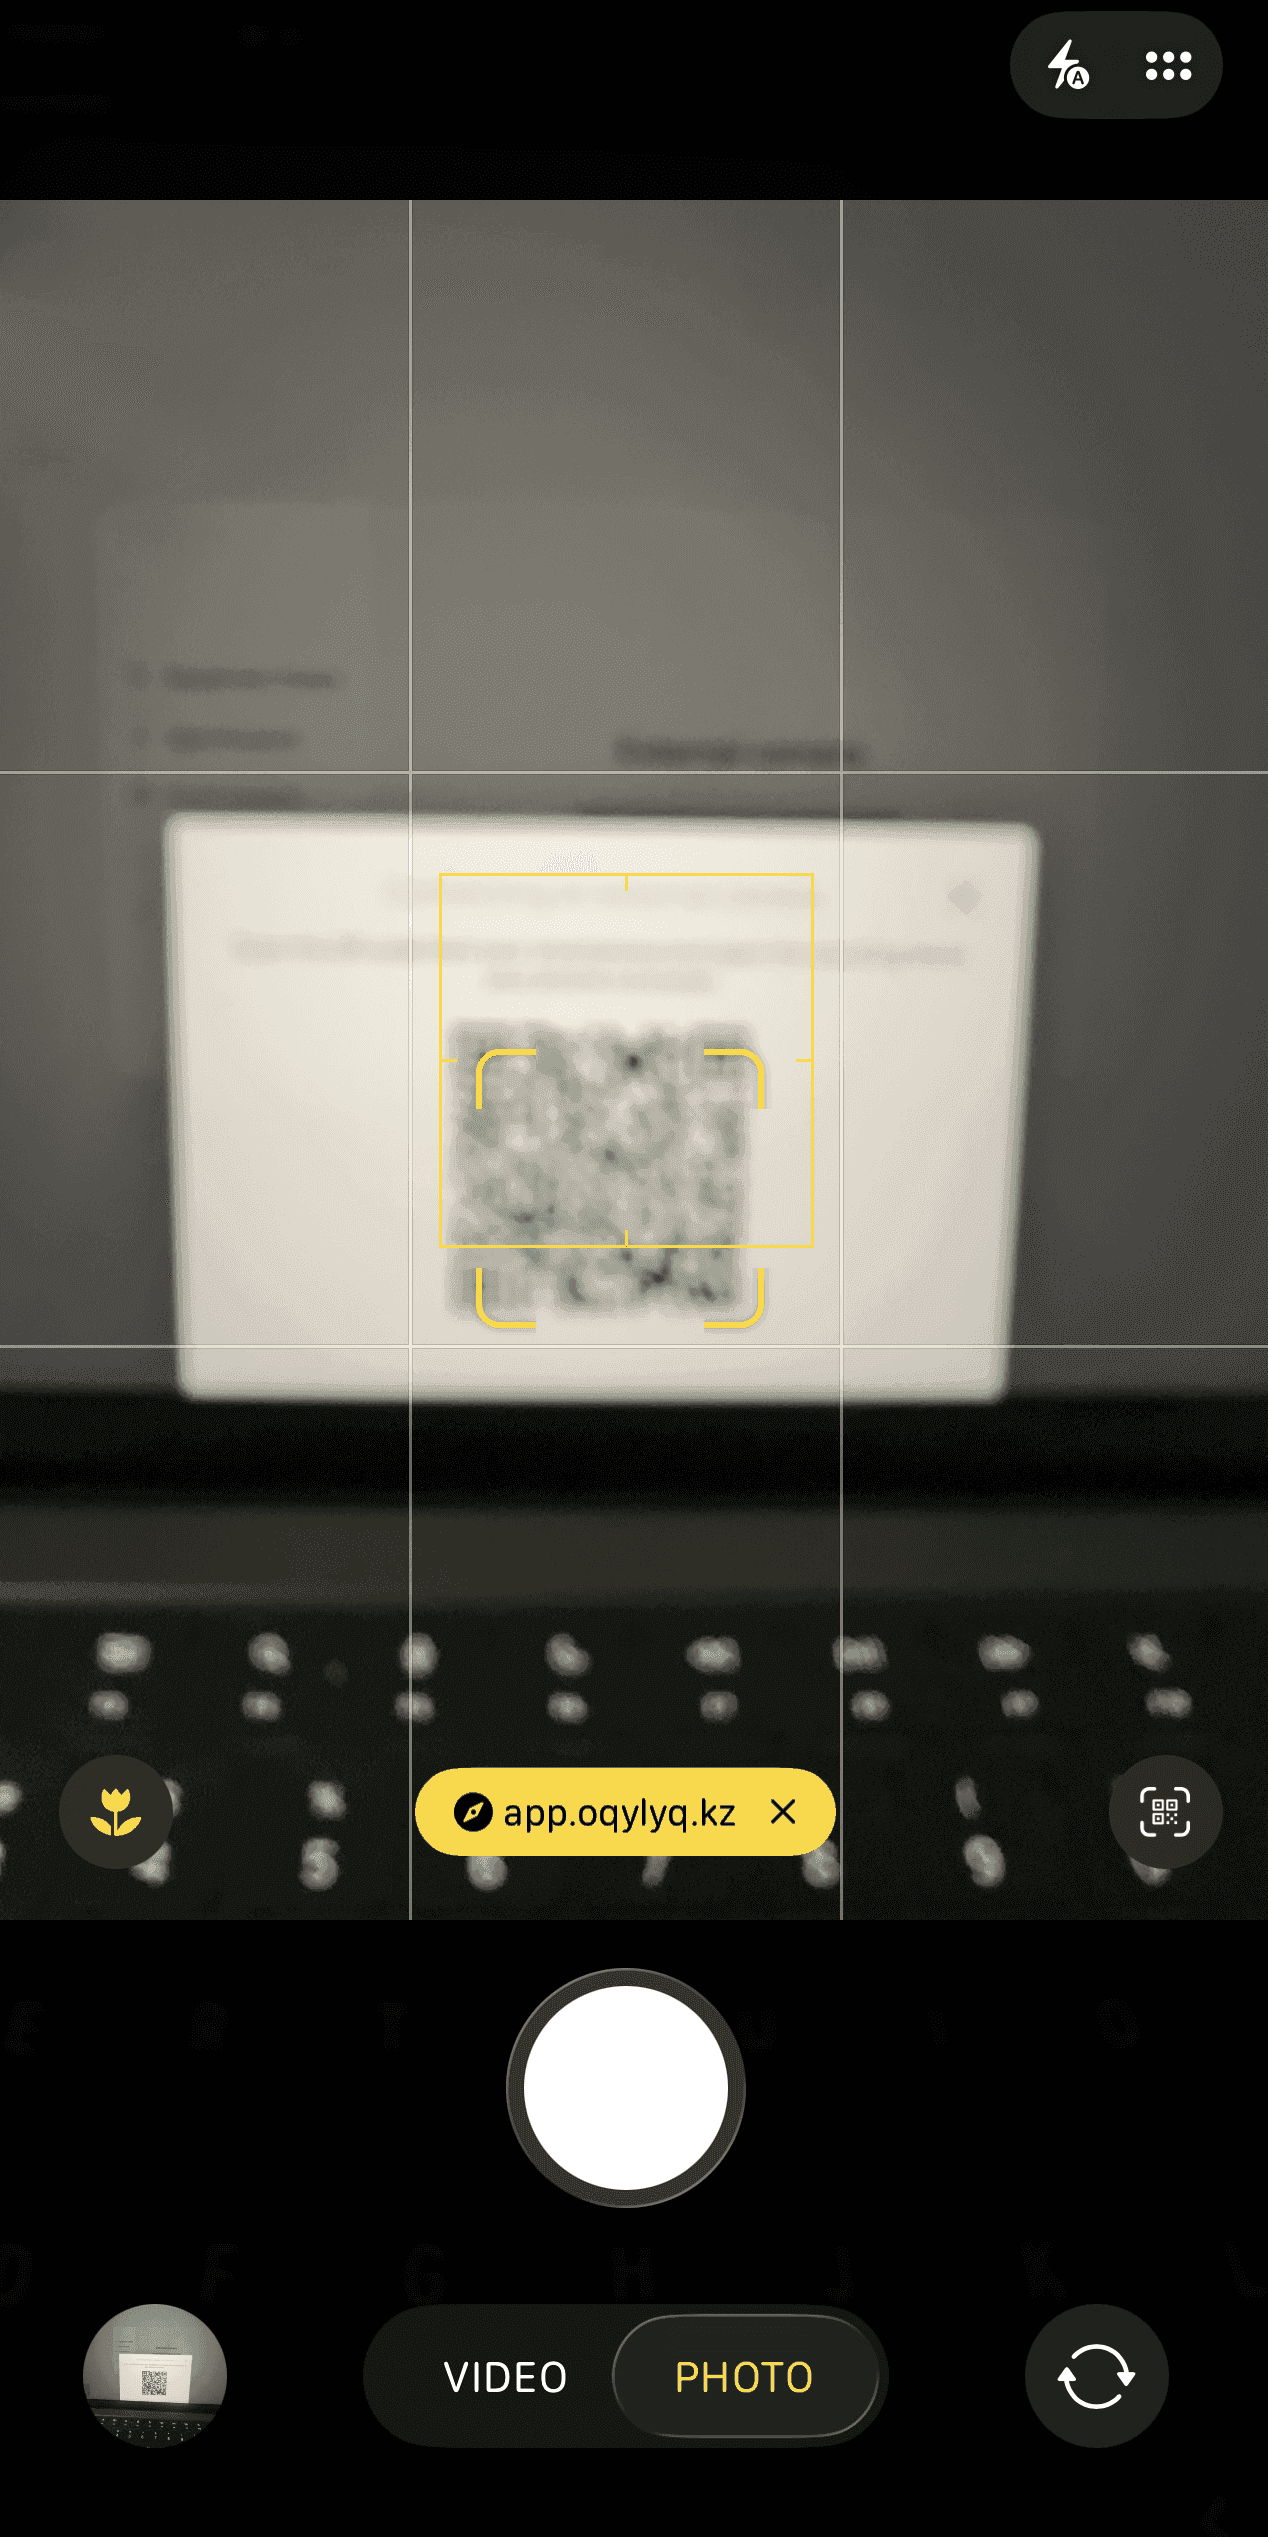
Use your smartphone’s camera to scan the QR code.
Your phone will automatically open the external camera connection page in the mobile browser.
3. Follow the On-Screen Instructions
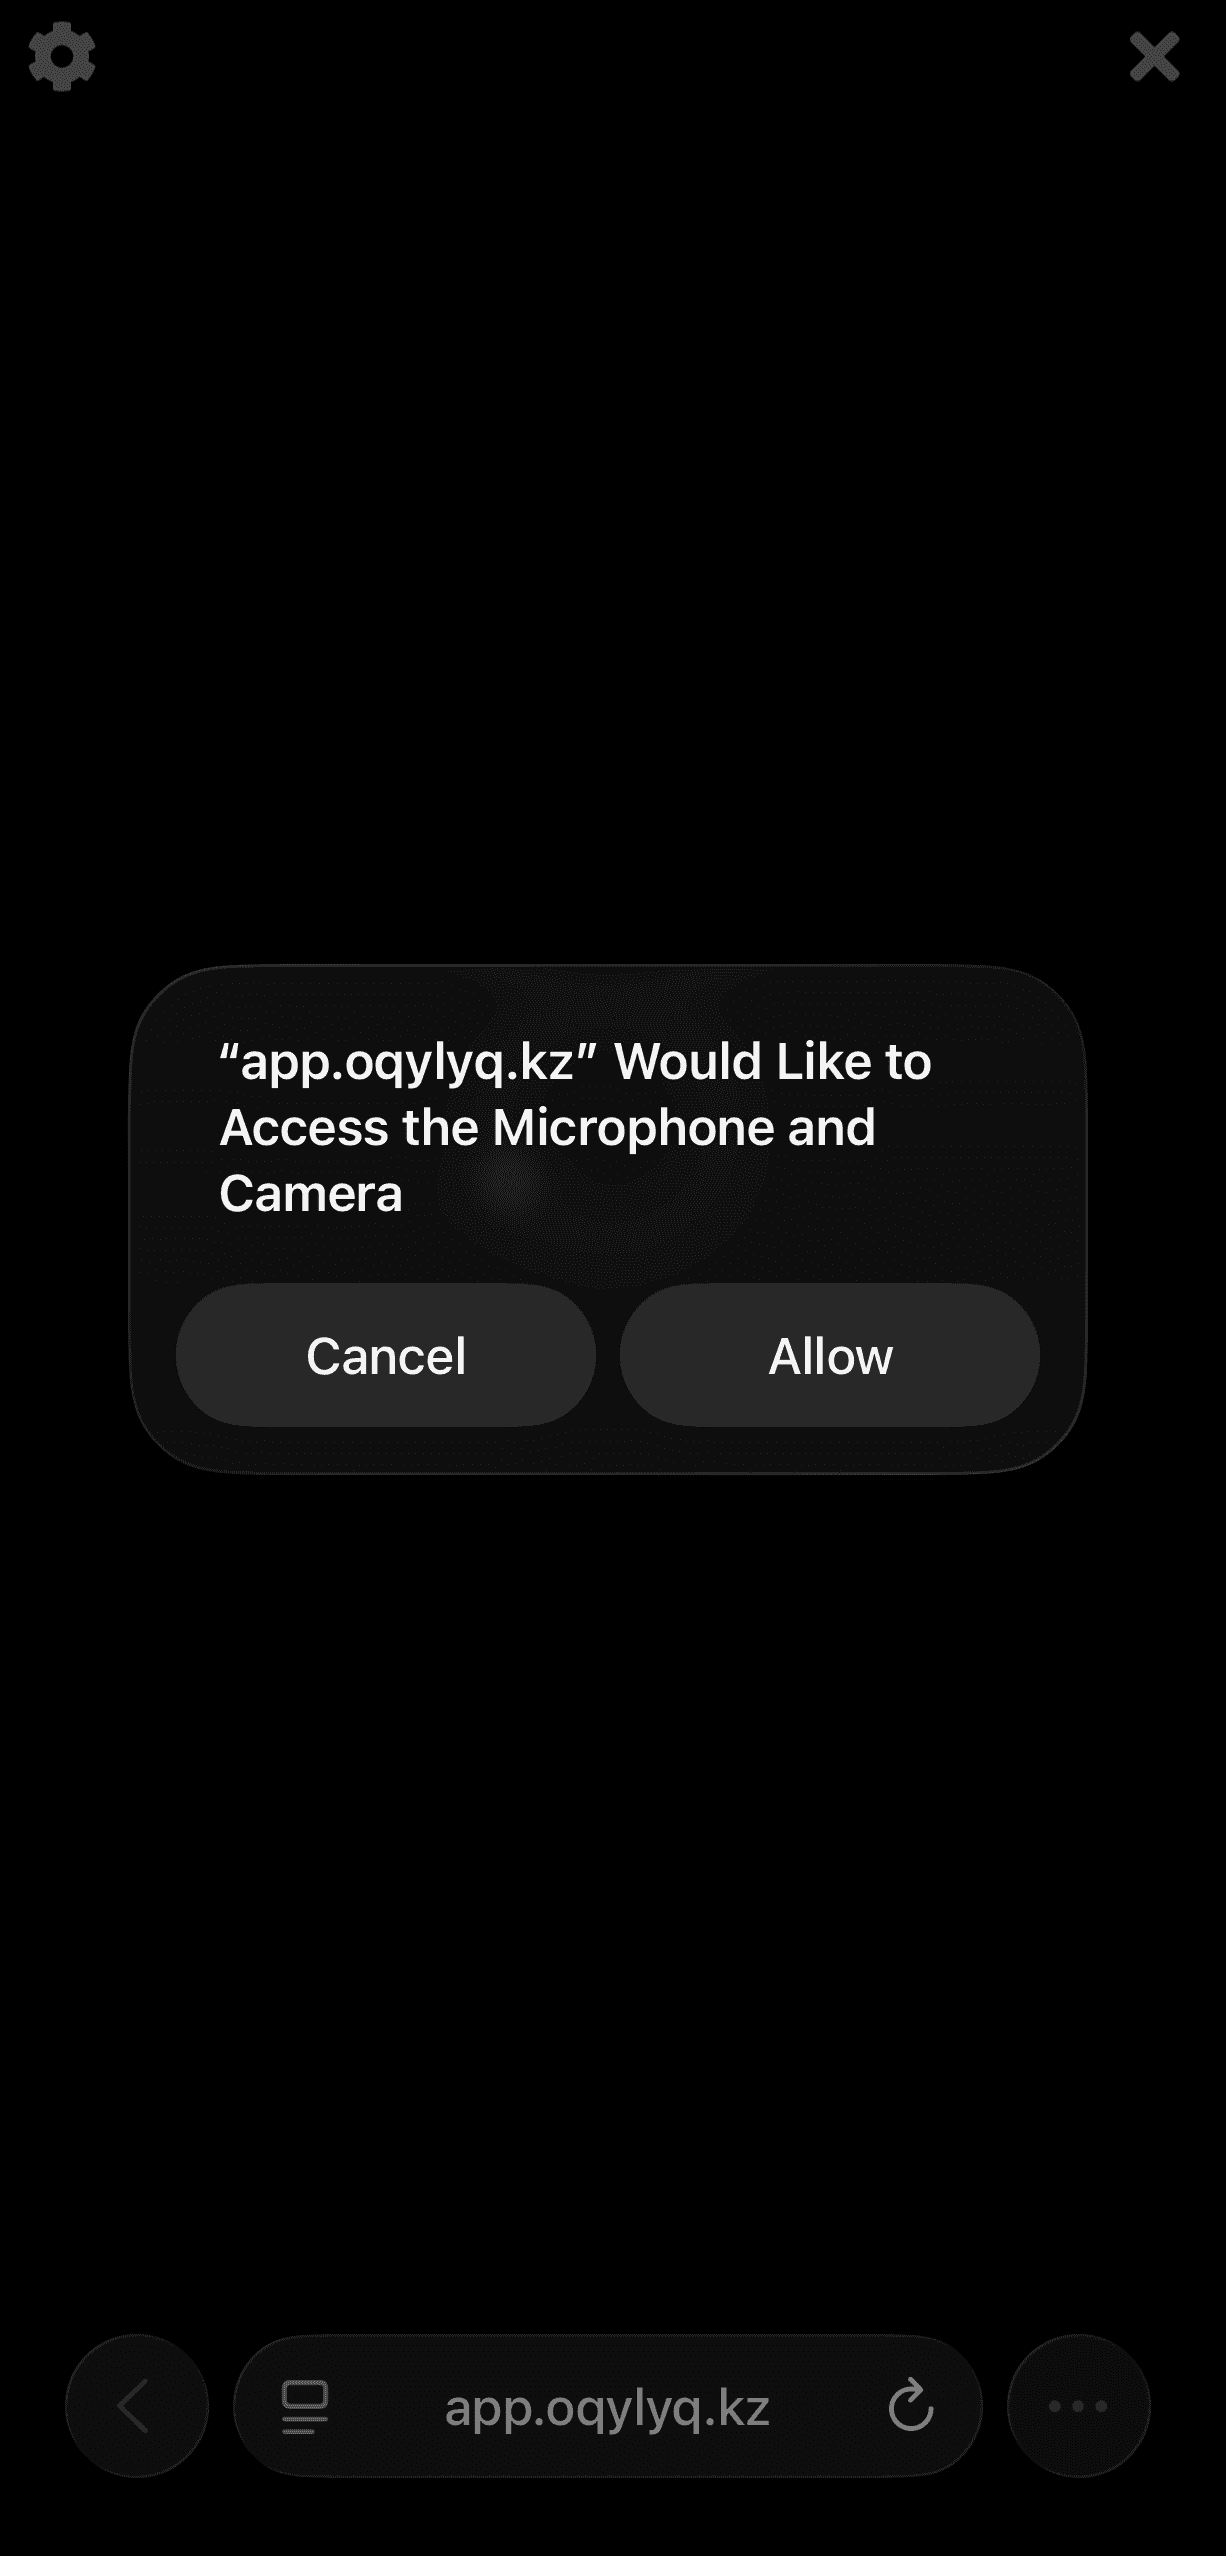
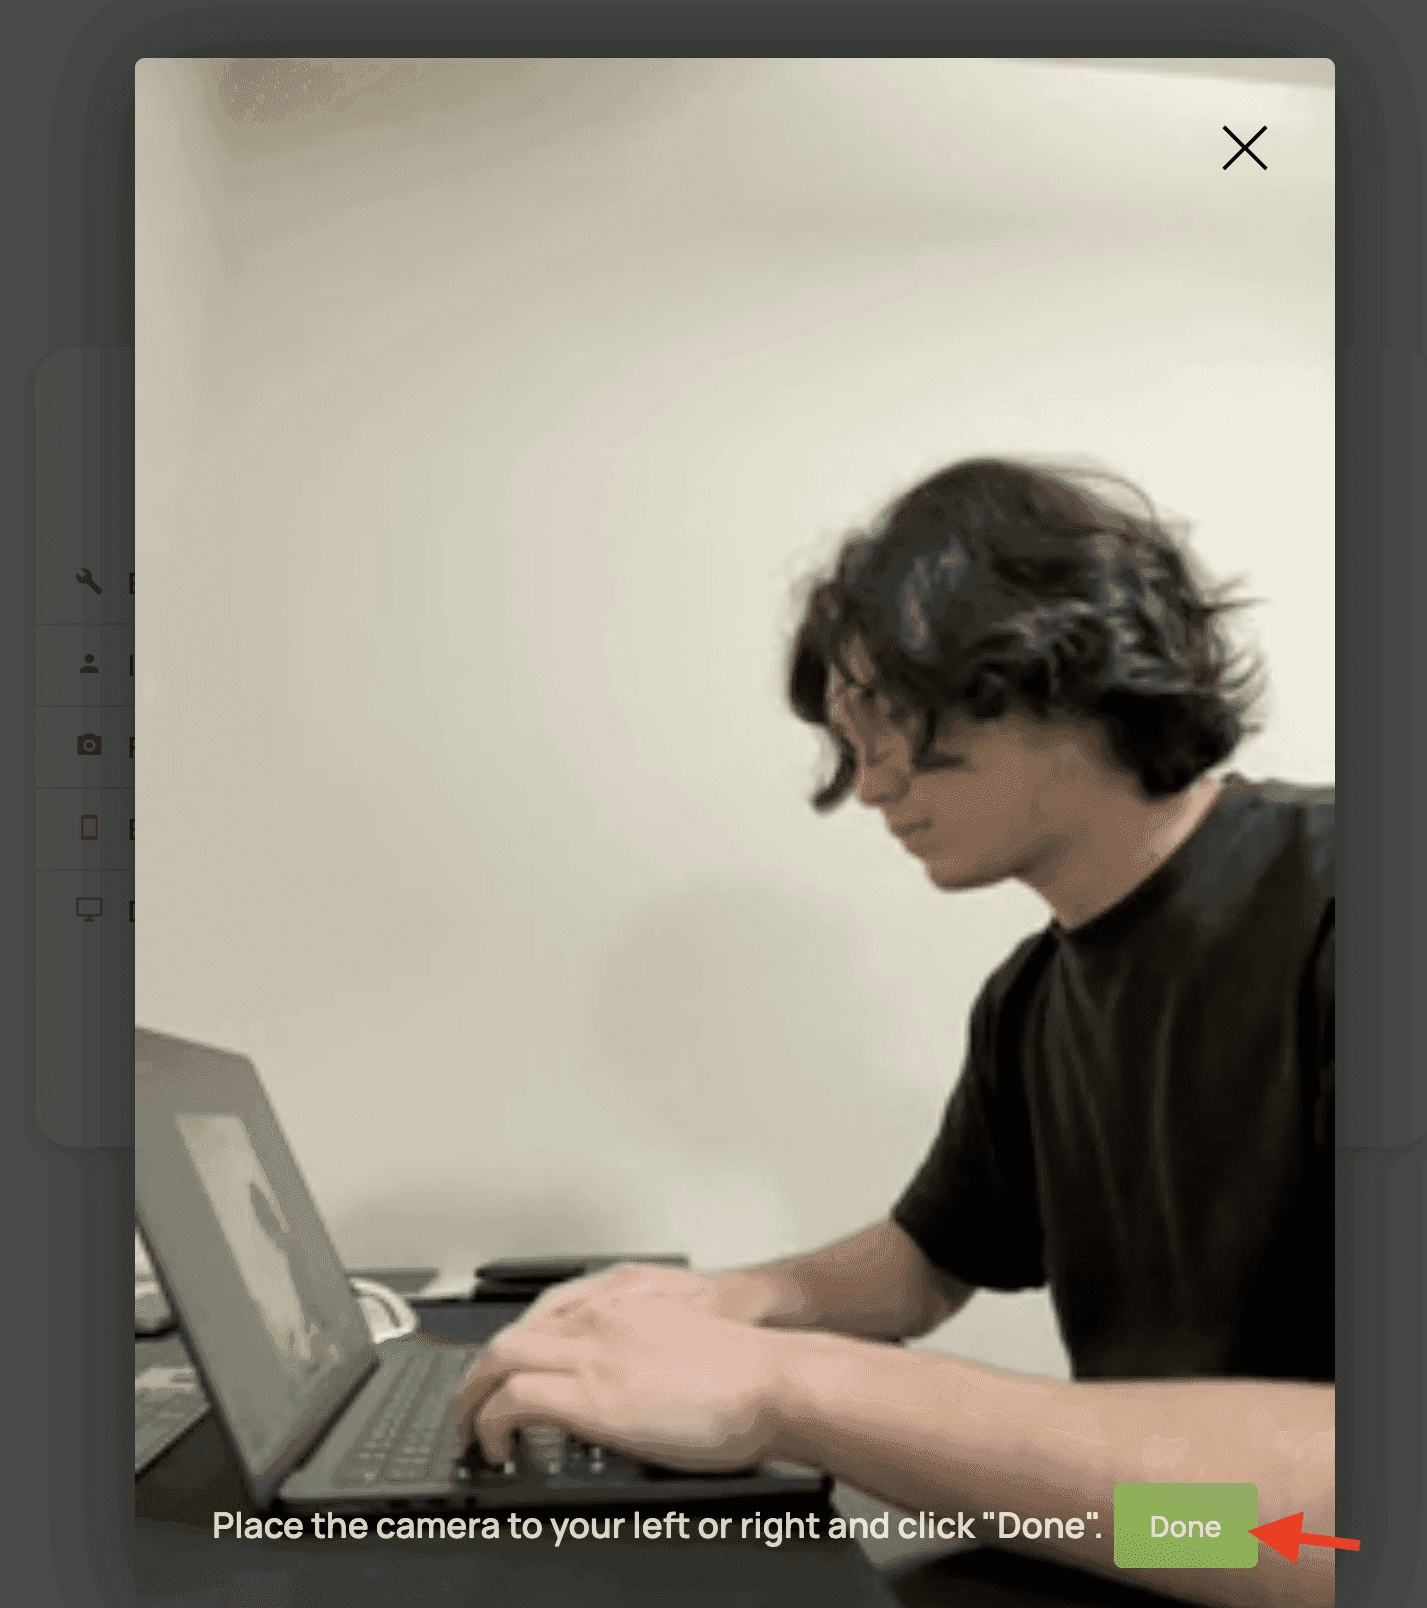
Complete the setup by following the prompts on your mobile device.
Make sure your phone remains stable and positioned correctly throughout the exam.
Microphone, Camera, and Desktop access
If you have correctly set up the app, the access should be granted automatically.
Starting and Finishing your test
After the system completes all checks, you will be allowed to begin your assessment.
Click the “Start Test” or “Continue” button.
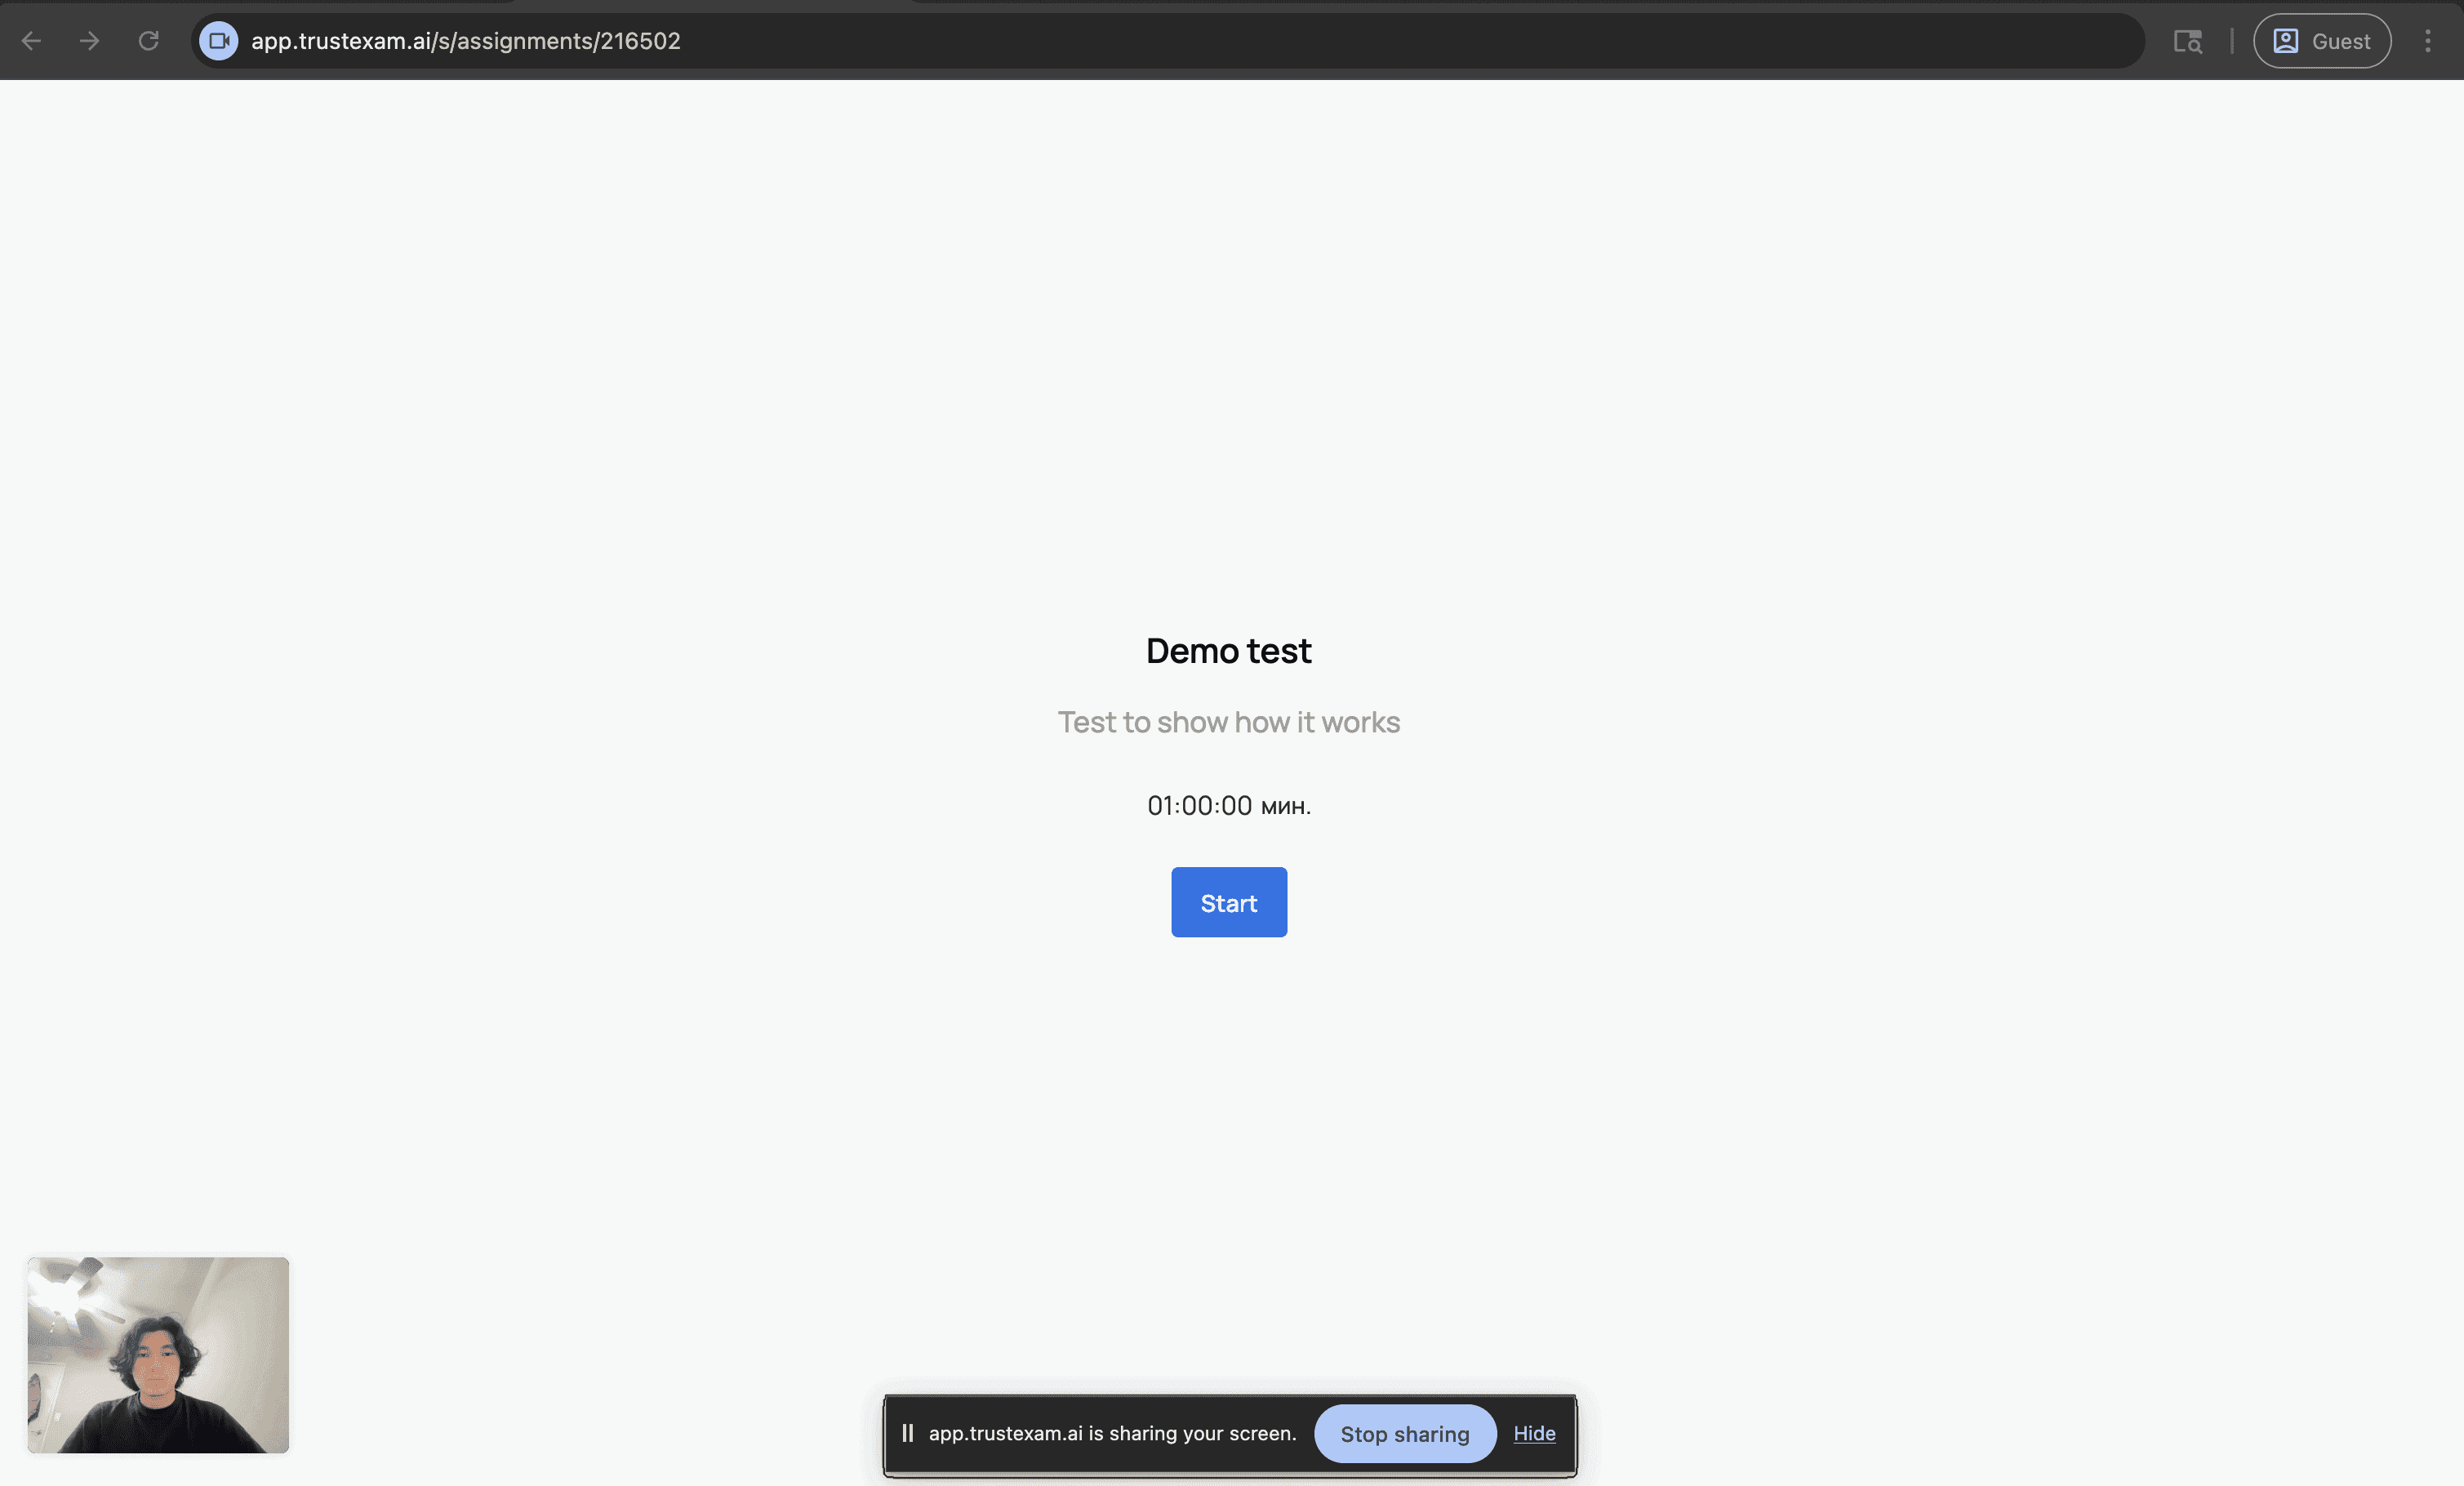
You will then see the test questions. You can navigate through the exam using Next and Previous buttons, skip questions, or return to earlier ones if allowed by the exam settings.
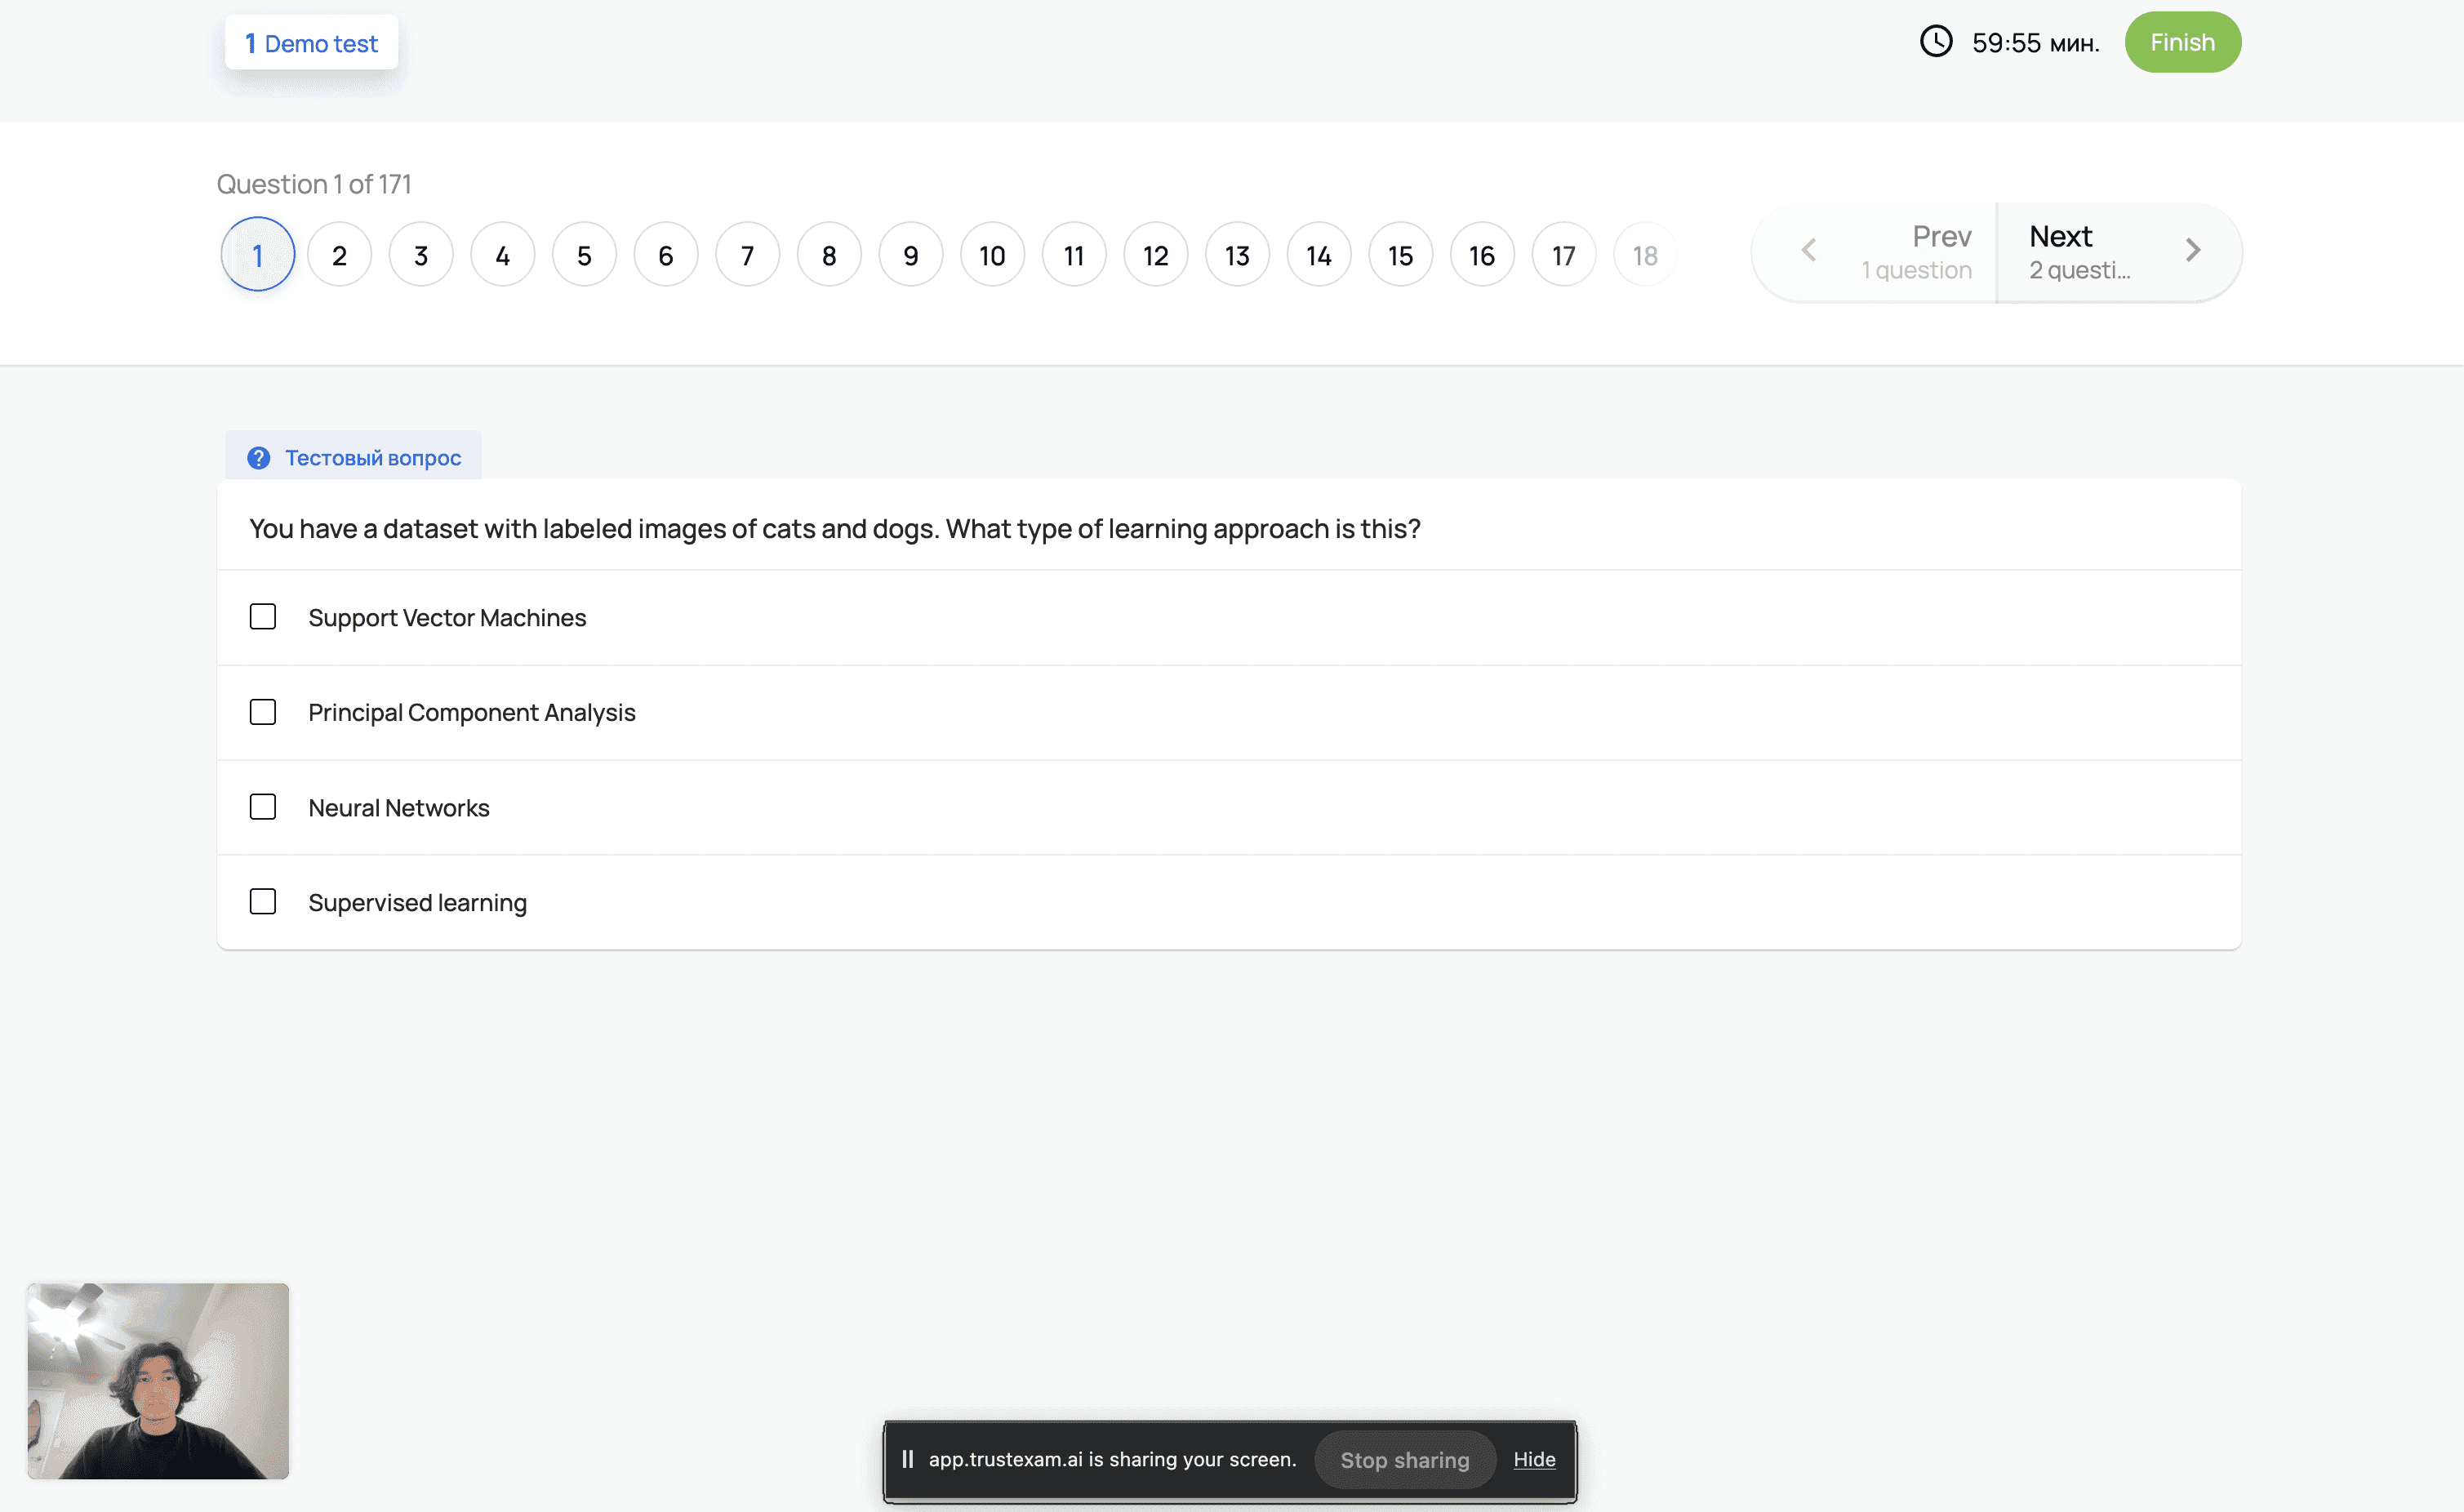
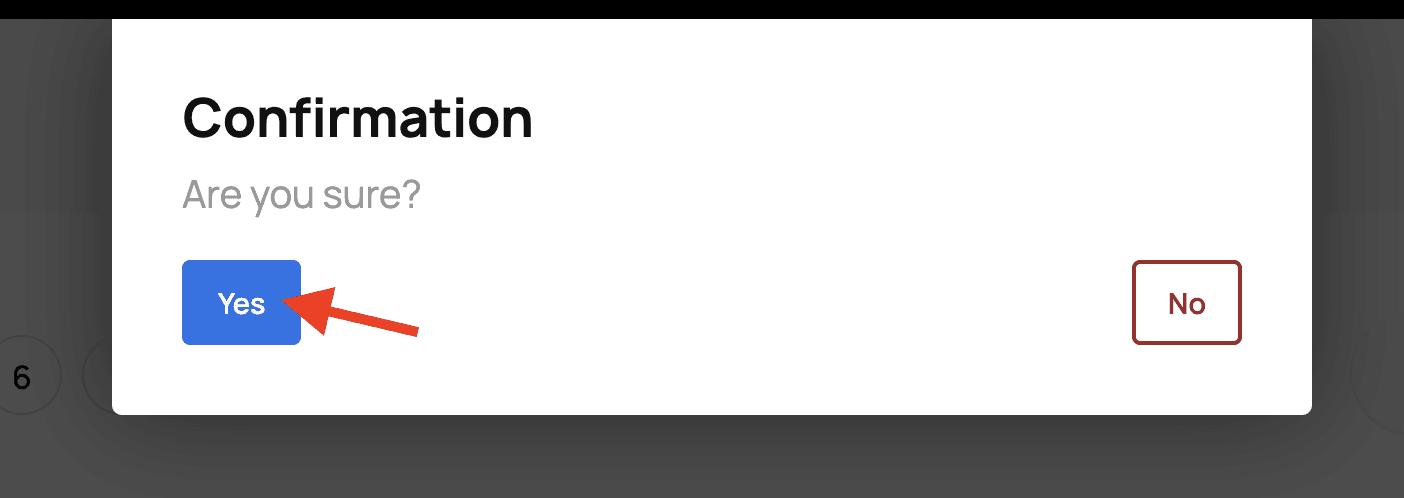
Once you have completed all questions, click the “Finish” button.
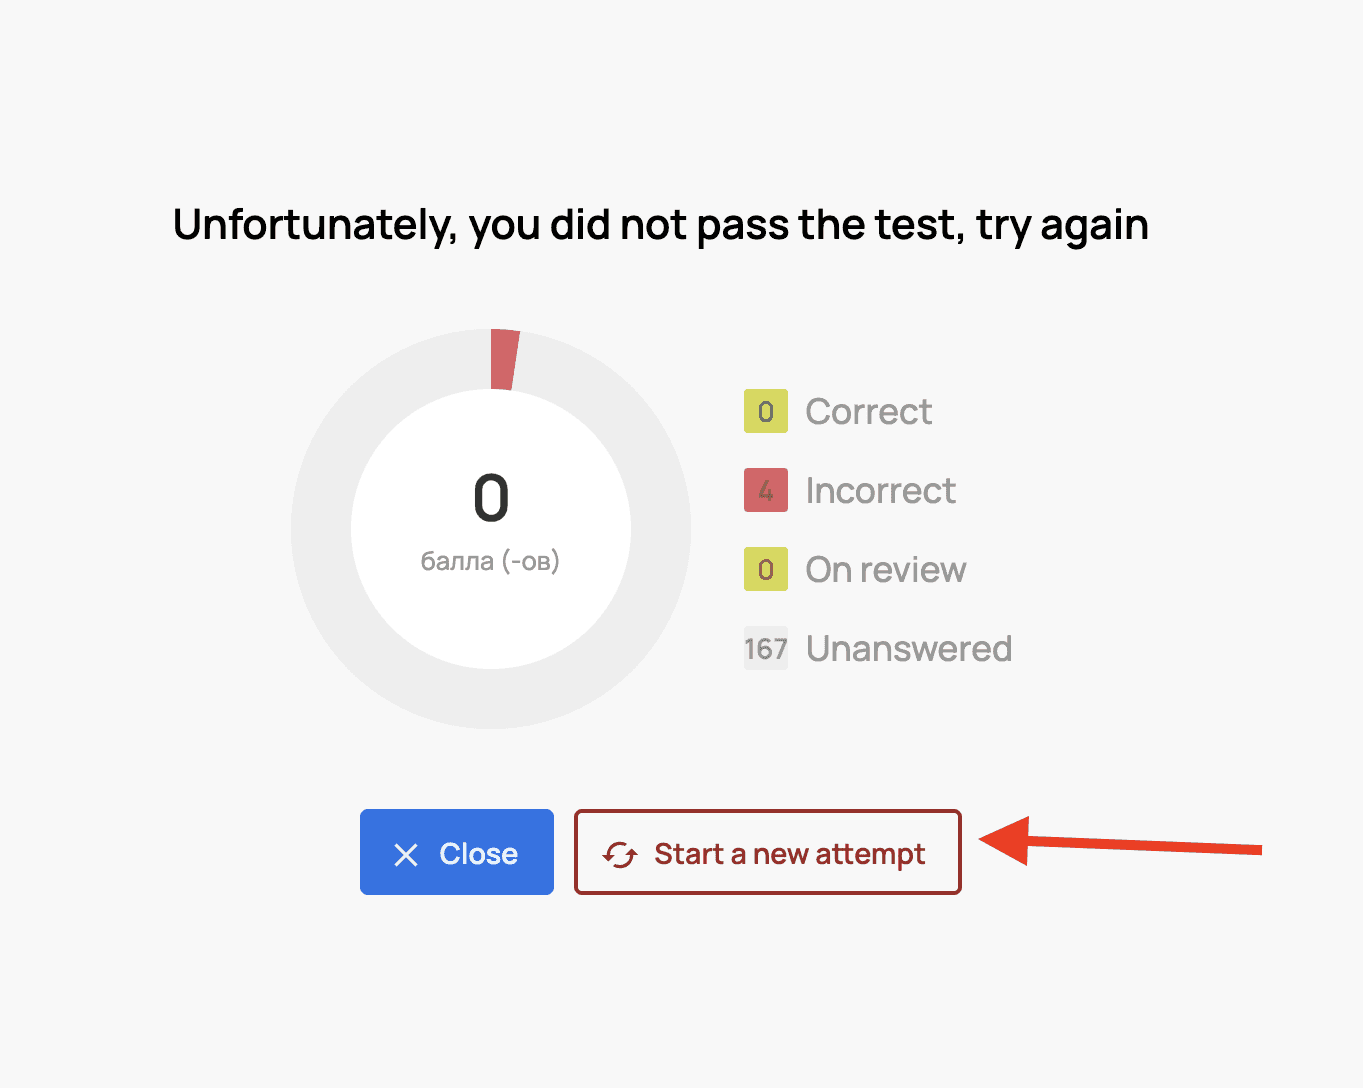
After submission, your test results will be displayed.
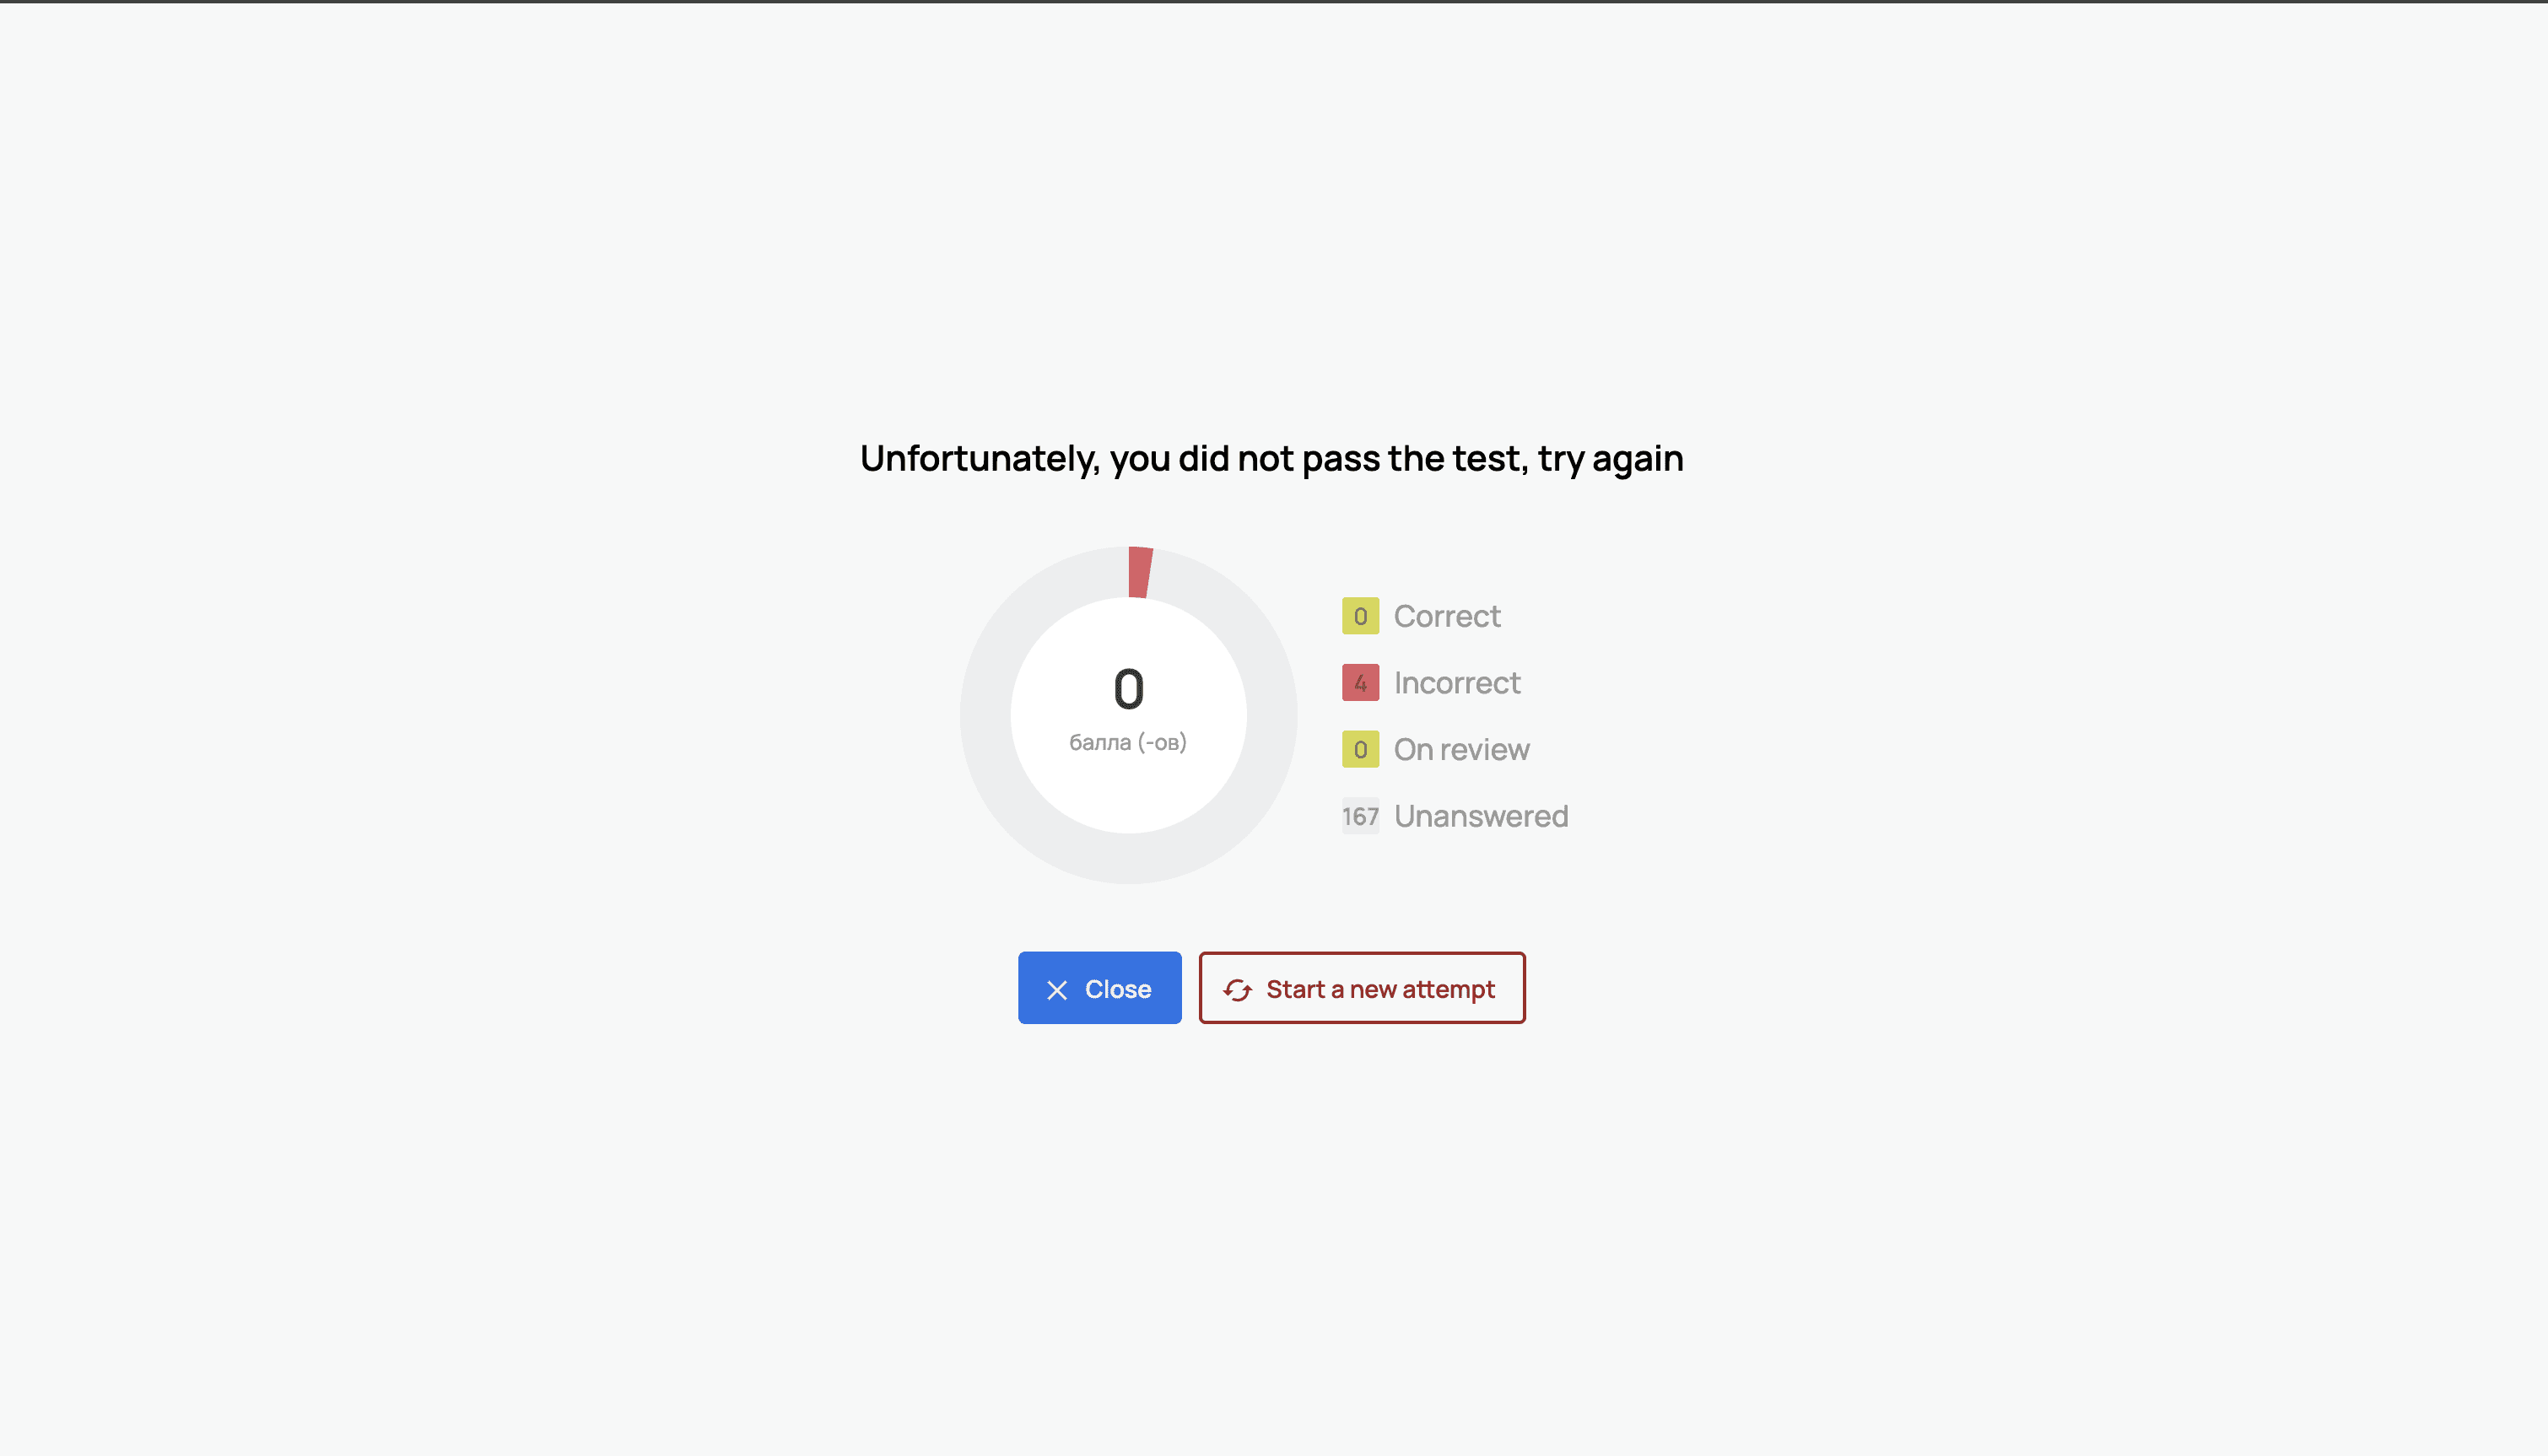
If you are allowed to retake the test you can press the button "Start a new attempt":